This article explains how to set up and use Google Authenticator for multi-factor authentication (MFA) on your AutoPlay account.
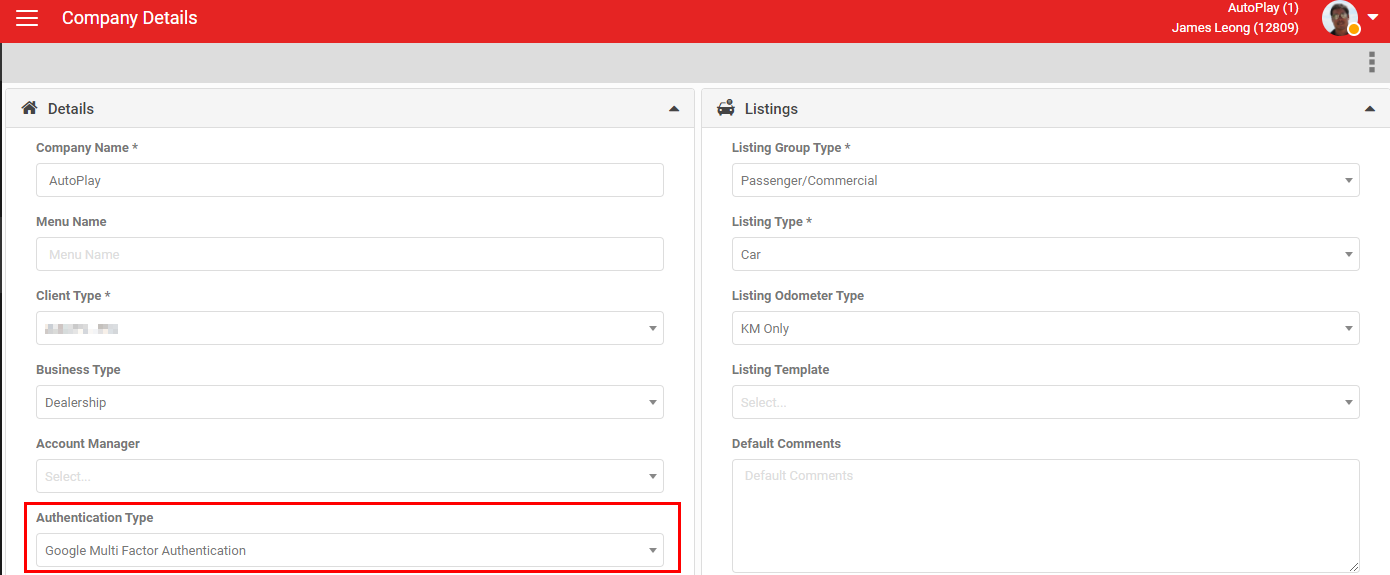
AutoPlay supports an extra layer of login security using Google Authenticator. Any AutoPlay dealership can have this enabled. If you're interested, contact your Customer Experience Manager or Dealer Performance Manager.
Download: Enabling_Google_Authenticator.pdf for the full walkthrough, including login steps and basic troubleshooting.
Note
MFA is set at account level. You cannot enable it for individual users only.
MFA is set at account level. You cannot enable it for individual users only.
Setting up Google Authenticator
- Download Google Authenticator from your device's app store.
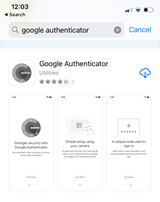
- Open the app and tap the + option in the bottom right.
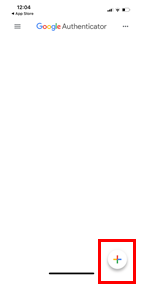
- Choose to scan a QR code or enter a setup key. Both options appear the first time you log in to AutoPlay after MFA is enabled on your account.
- Name the entry clearly so you can identify it as your AutoPlay account.
Logging in to AutoPlay
- The first time you log in after MFA is enabled, AutoPlay shows a QR code and a setup code. Scan the QR code with Google Authenticator, or enter the setup code manually.
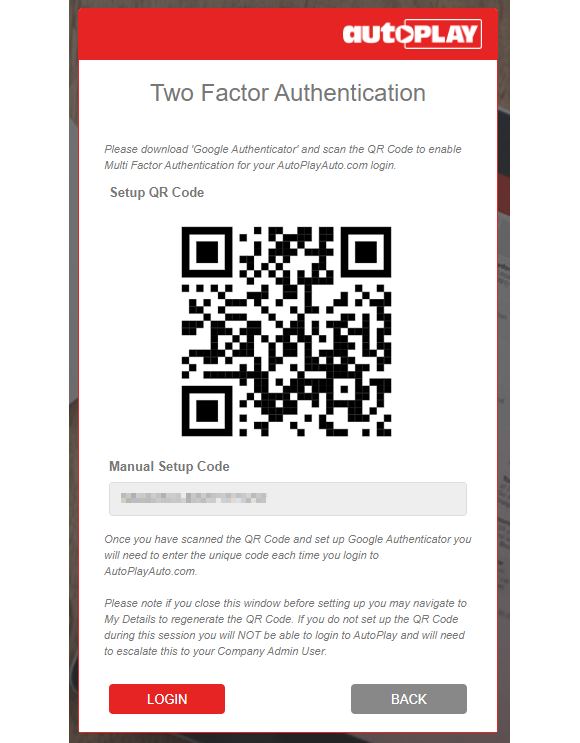
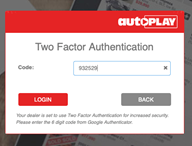
- Click Login. AutoPlay then asks for your two-factor authentication code.
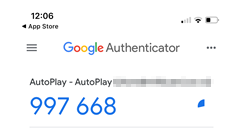
- Open Google Authenticator, find the entry you created for AutoPlay, and enter the current code. Codes refresh every 30 seconds.
- Click Login again.