AutoPlay's built-in Email Response tool lets salespeople build customised, professional HTML emails, including personalised video responses that help build rapport with customers.
You can send an Email Response from several screens in AutoPlayAuto.com. See this article for the full list:
- From the Dashboard shortcut
- From My Listings
- From the Address Book
- From the Email screen
- From a lead
The most common route is from the View Lead screen. Click the communication icon in the grey action menu and select New Email Response, or open the Communications section and click the green Add button.
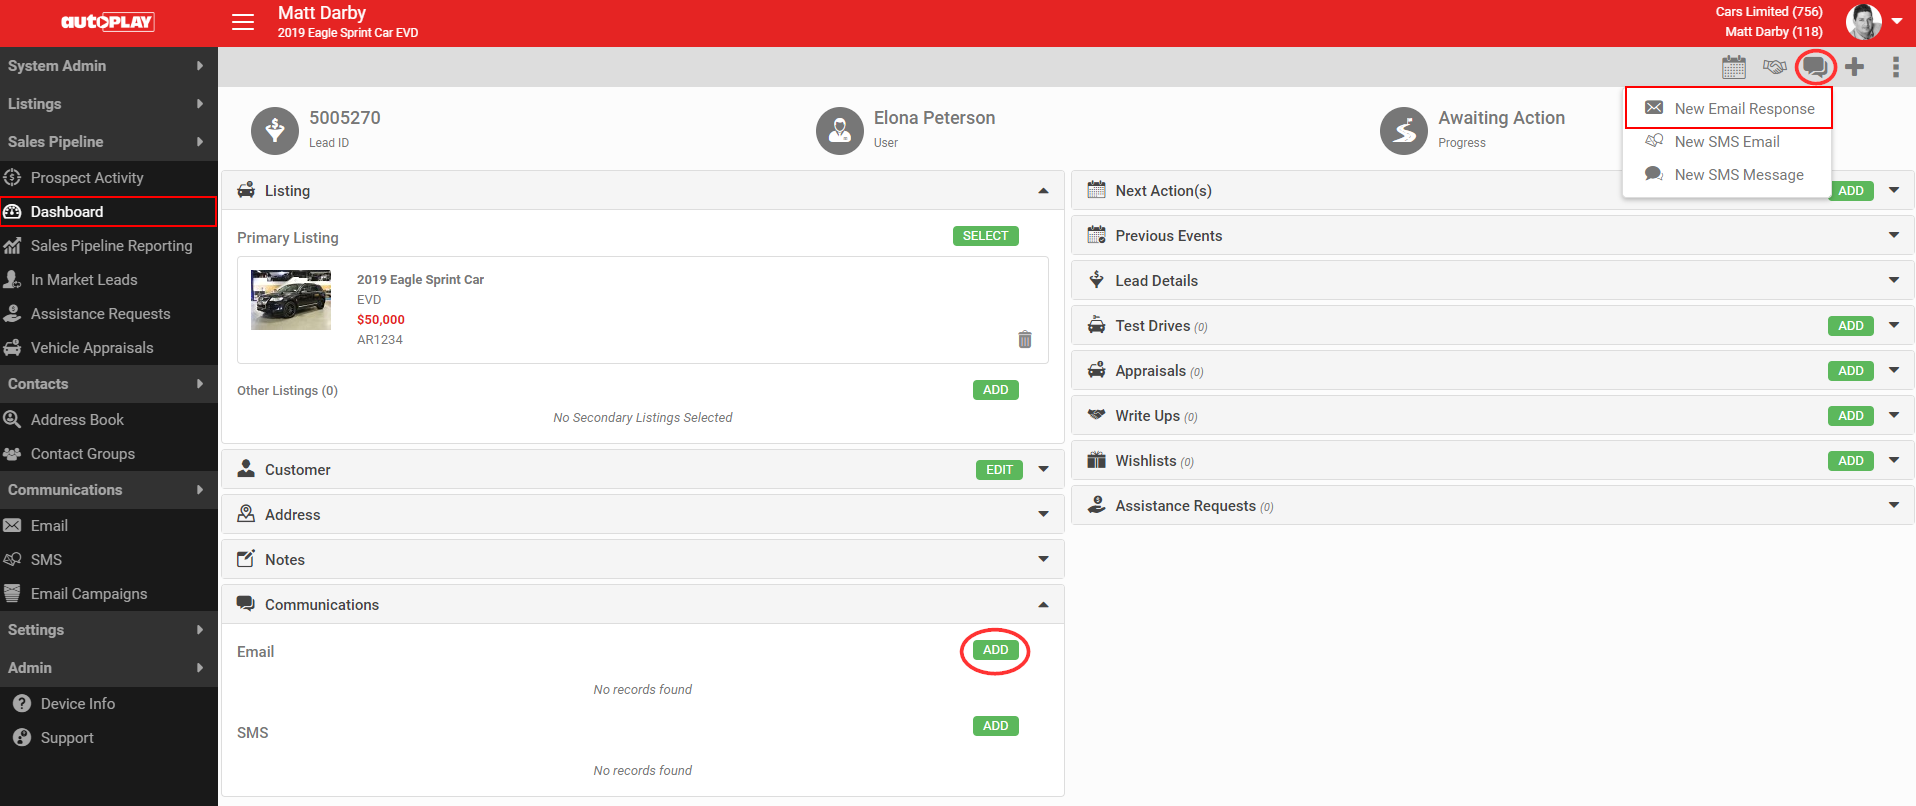
Sending an email involves several steps.
1. Standard Response
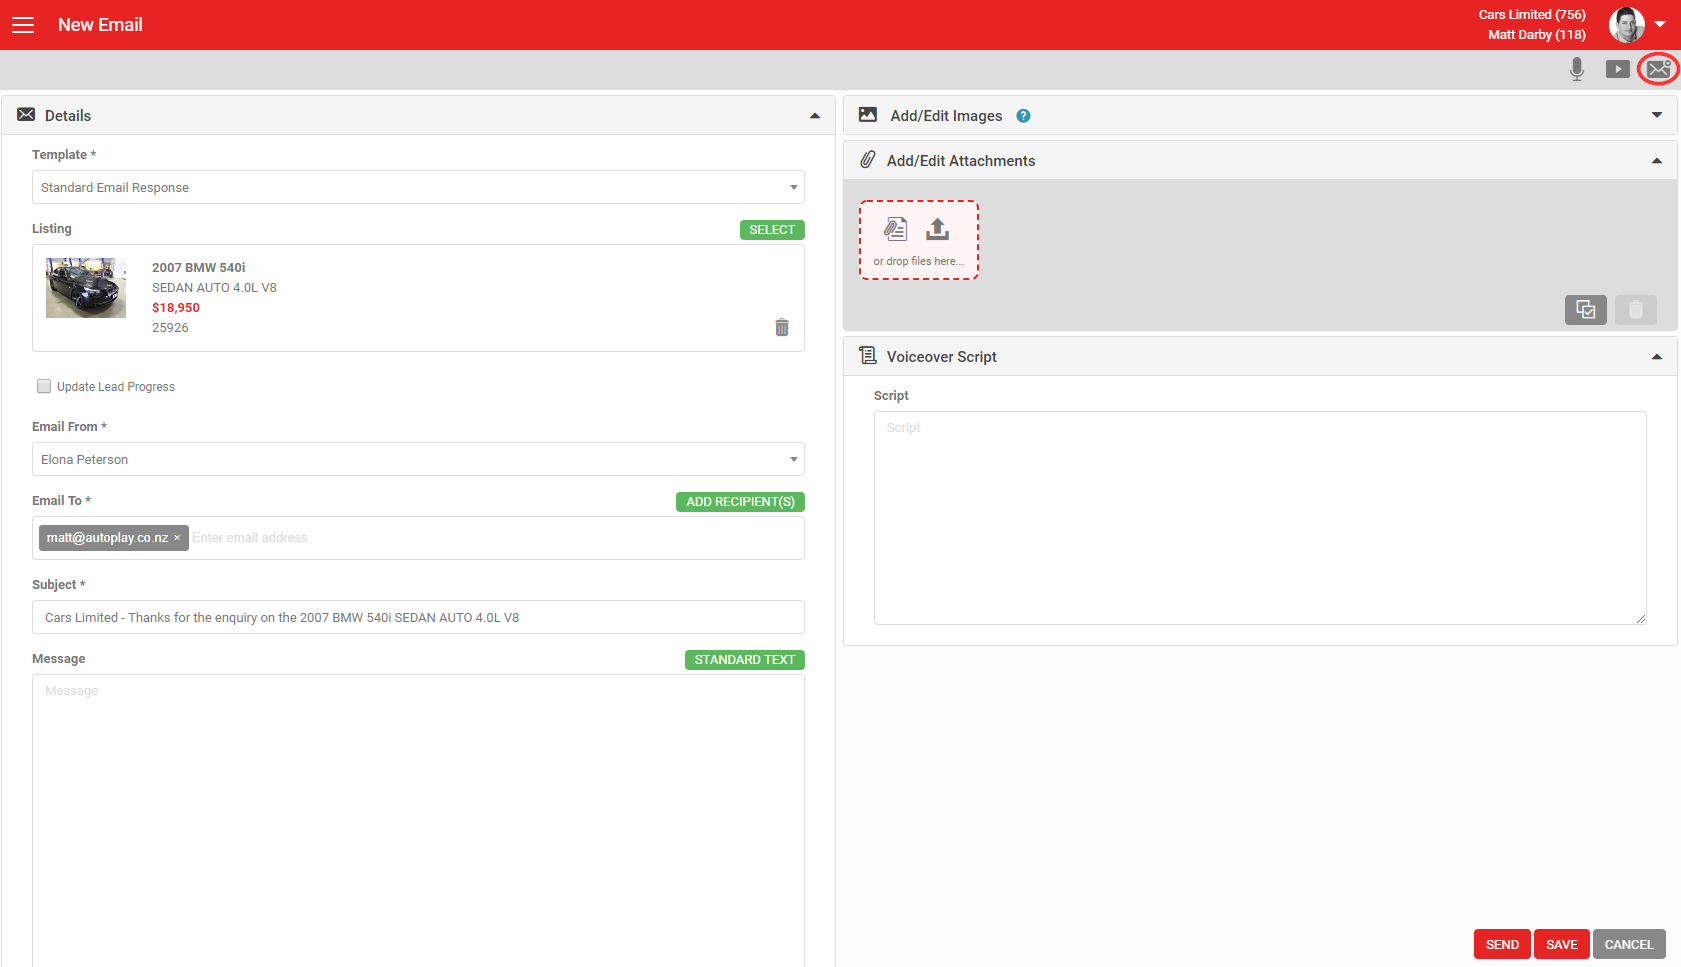
Before you start, you may want to load a Standard Response by clicking the email icon in the action menu. This replaces your current email content, so only select it before completing any other fields. Standard Responses can include text, images and a template, and can be set visible to all users or to selected users only. If a Standard Response is limited to certain yards or lead sources, it's only selectable when the lead matches.
See Managing Standard Response and Standard Text for more.
Once you've built an email, the Load Standard Response icon changes to Save Standard Response, letting you save the email as a new Standard Response for later.
2. Template
Choose a Template. Templates can be visible to all users or selected users only. If you're including a video, make sure the template supports it. Only "Email Response" type templates are available here; use Email Campaigns for bulk sends. Read more about templates here.
3. Listing
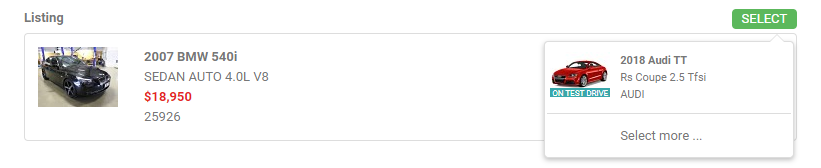
If you arrived from a Listing or Lead, the Primary Listing is already populated. Click Select to change the vehicle: this shows any Other listings on the lead, or click Select more to choose from every listing you have rights to view. A listing chosen here that isn't already on the lead is added to it. Remove all listings from the email using the rubbish bin icon next to each.
4. Update Lead Progress
The Update Lead Progress checkbox is unticked by default. Ticking it updates the Lead Progress to "Email Sent".
5. Email From
Defaults to the logged-in user. Managers in the Manage Leads role can select any user who shares that role with them. Emails sent from AutoPlay show as "Sent by mailer@autoplay.co.nz on behalf of [User]", to help delivery and avoid spam filters.
6. Email To
Populated automatically from the customer or lead record. Add extra recipients manually, remove them with the small x, or click Add Recipients to choose from your customer database. Adding recipients here doesn't change the customer on the lead.

7. Subject
Defaults to "
8. Message
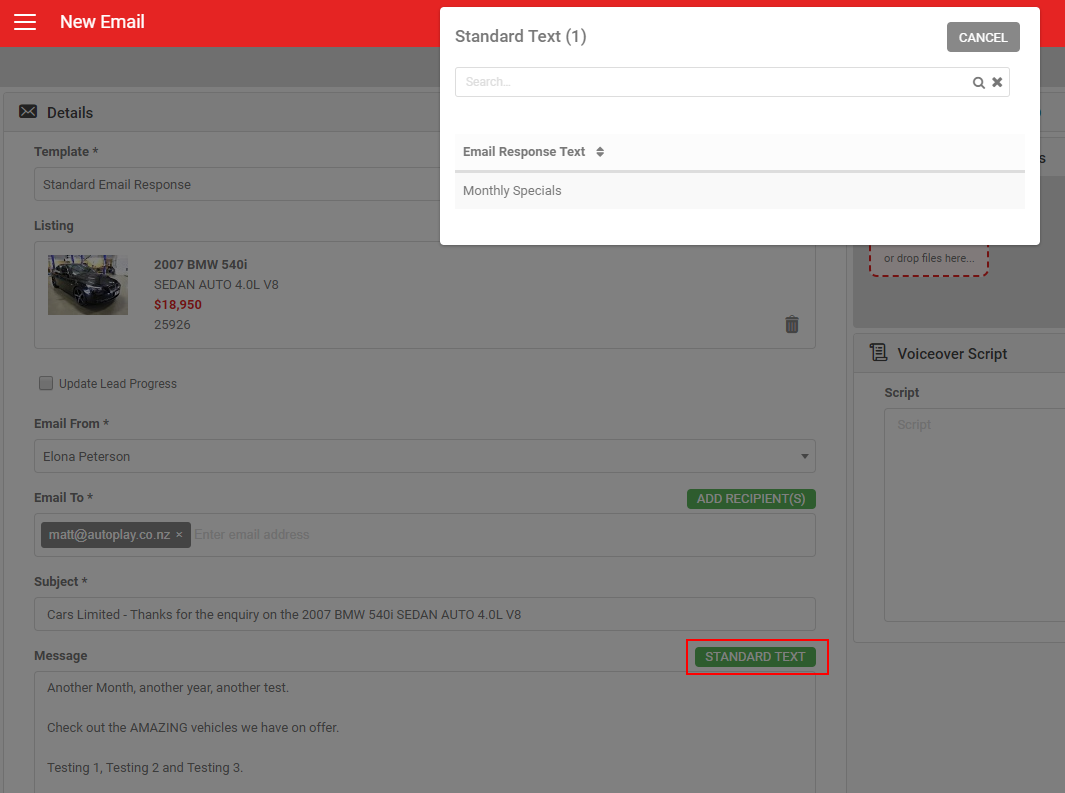
Type your message here. If you loaded a Standard Response it may already be populated, and you can edit it without affecting the saved Standard Response. If you've set up Standard Text, load it into the message field by clicking Standard Text. See Managing Standard Response and Standard Text for more.
9. Add/edit images
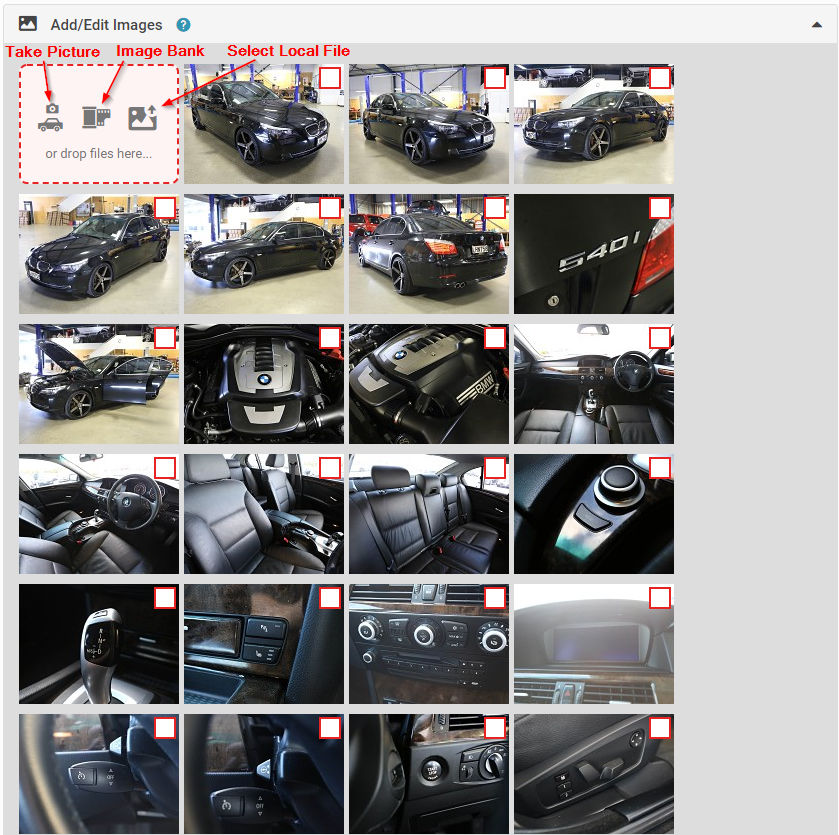
If a listing is selected, its images appear here. Select an image and click the rubbish bin to remove it from the email only (the listing itself is unchanged). Take a photo or upload one from your device to add a new image, or click Image Bank to select from saved images. Drag and drop to reorder. If you're building a stitched-together video, these images are used with your recorded voice-over.
10. Add/edit attachments
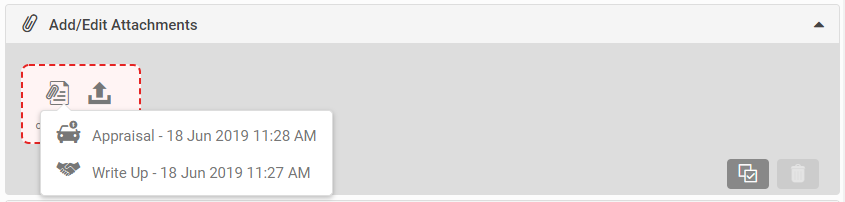
Attach a JPG or PDF from your device, or attach a completed Test Drive, Appraisal or Write Up Form PDF. Attachments for an Email Response are limited to 15MB. See this article for more.
11. Voiceover script
Use this field to write a script to follow when recording your voice-over.
12. Save
Click Save to keep your changes. If your template doesn't support video, you can send the email straight away.
13. Manage voiceover
To build a video from your images, click the microphone icon in the grey action menu, then click record and speak your voice-over. If you haven't already given microphone permission, you'll be asked for it. See our FAQs for more on granting microphone access.
A red outline moves through your images as a guide while recording, to help you time the recording to the images. Keep any recording to 60 seconds or less. Click Stop when finished, then Save. Use Play to review, and re-record if needed.
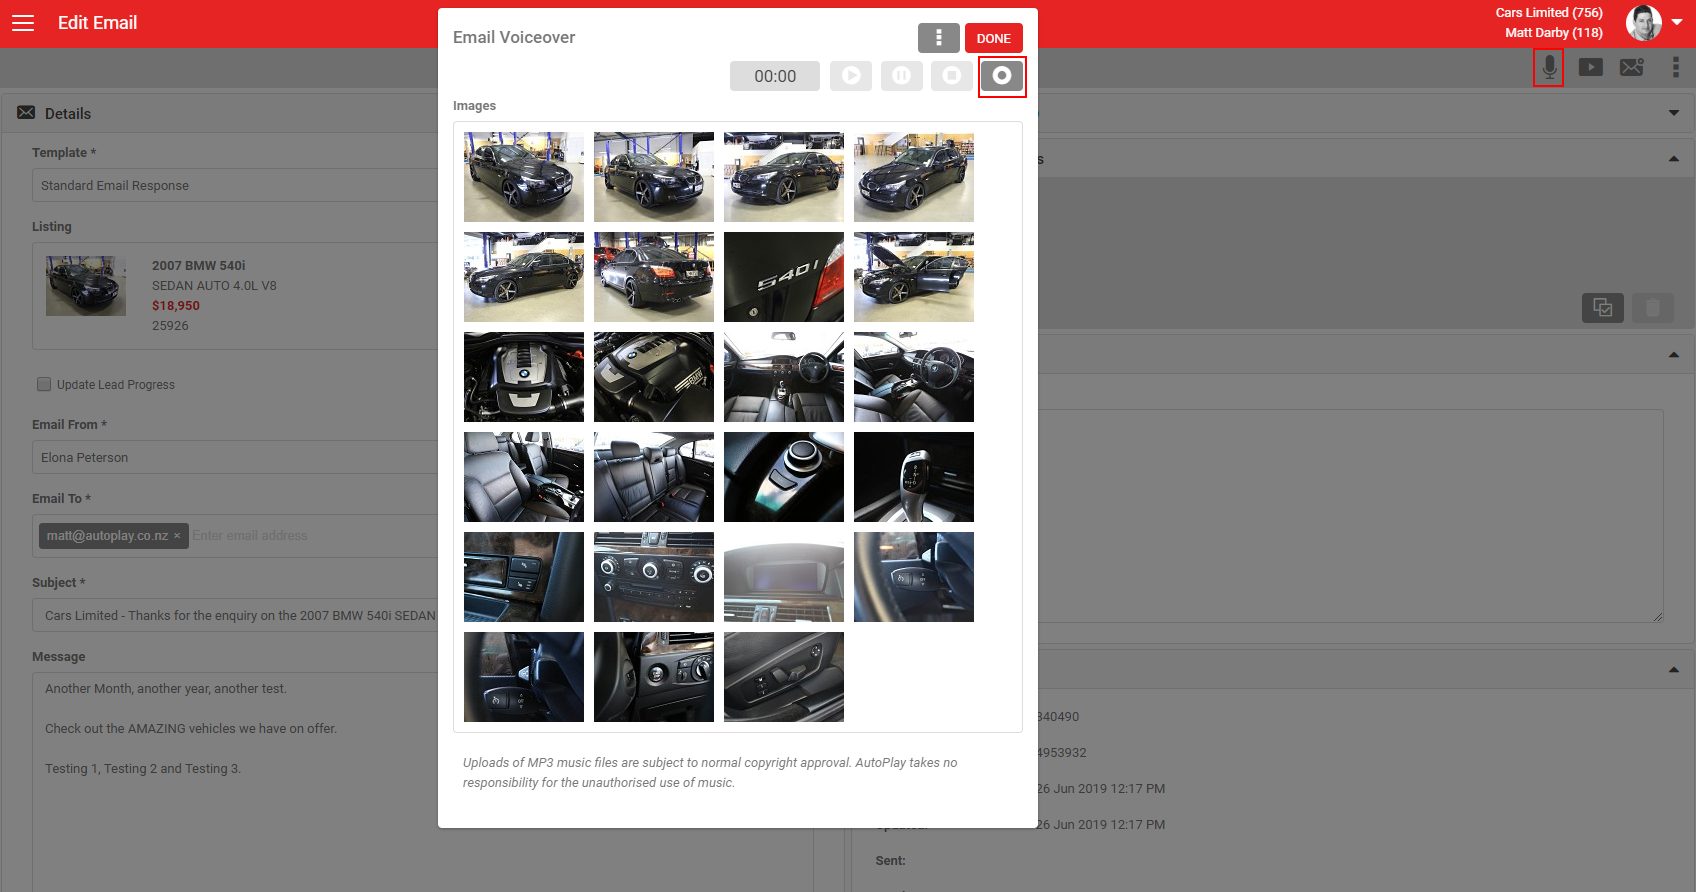
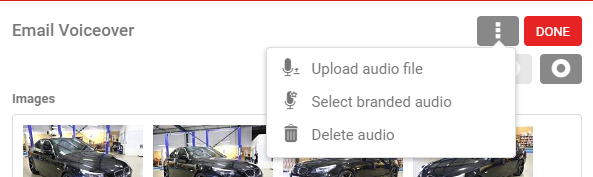
Click the More icon to upload an MP3 ("Upload audio file"), use audio you've set up in the Audio screen ("Select branded audio"), or use whatever audio is recorded on the listing ("Use Listing Audio"). Select Delete audio to discard your recording, or Done to close the recording window.
Preview
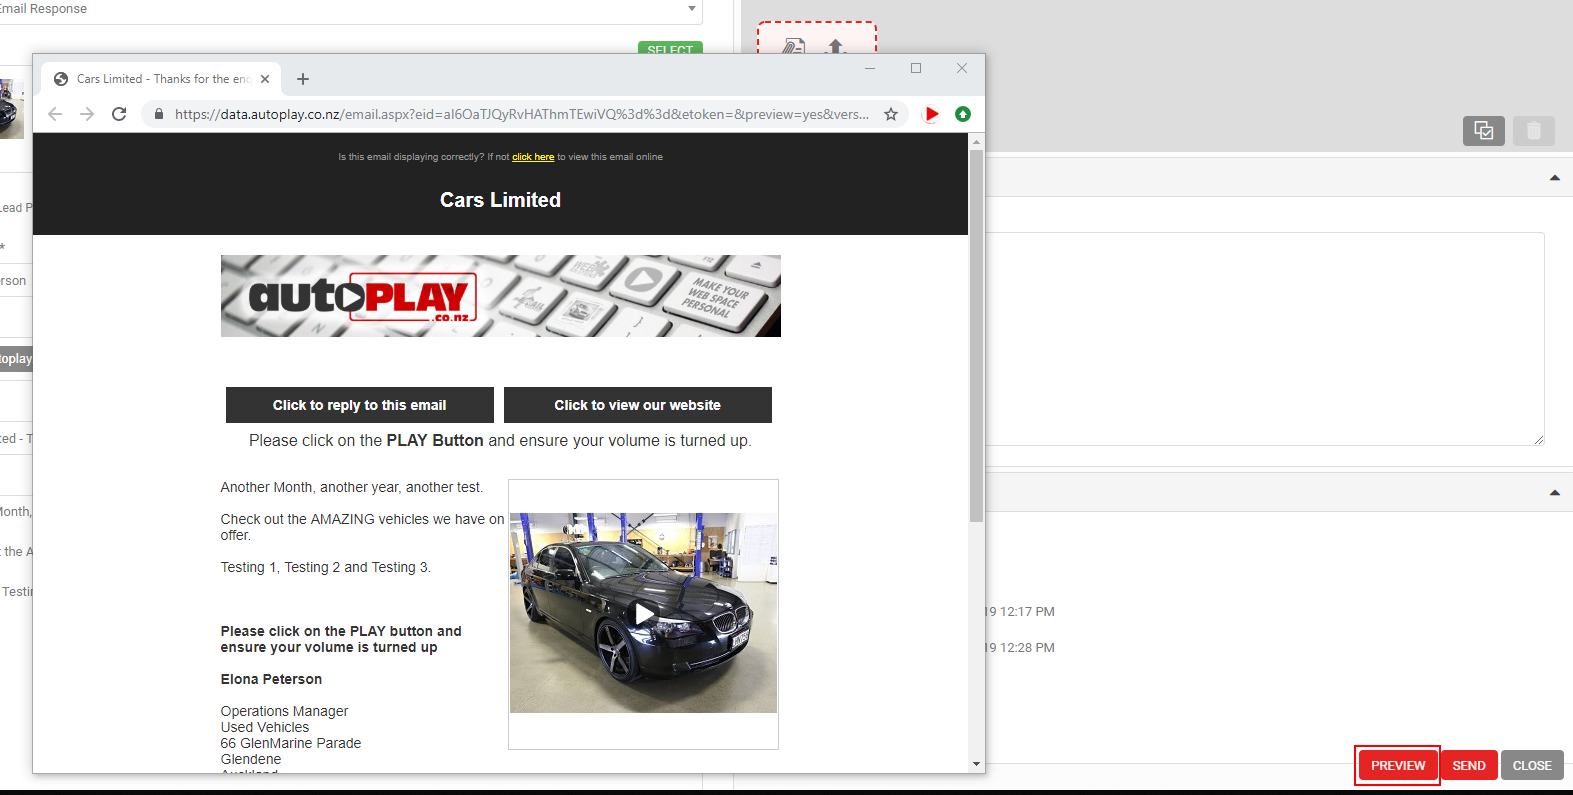
Before sending, click Preview to see how your recorded audio and images have been stitched together. The preview opens in a new window showing exactly what the customer will receive, with a play button to watch the video.
Video
As an alternative to a stitched video, you can add a true MP4 video.
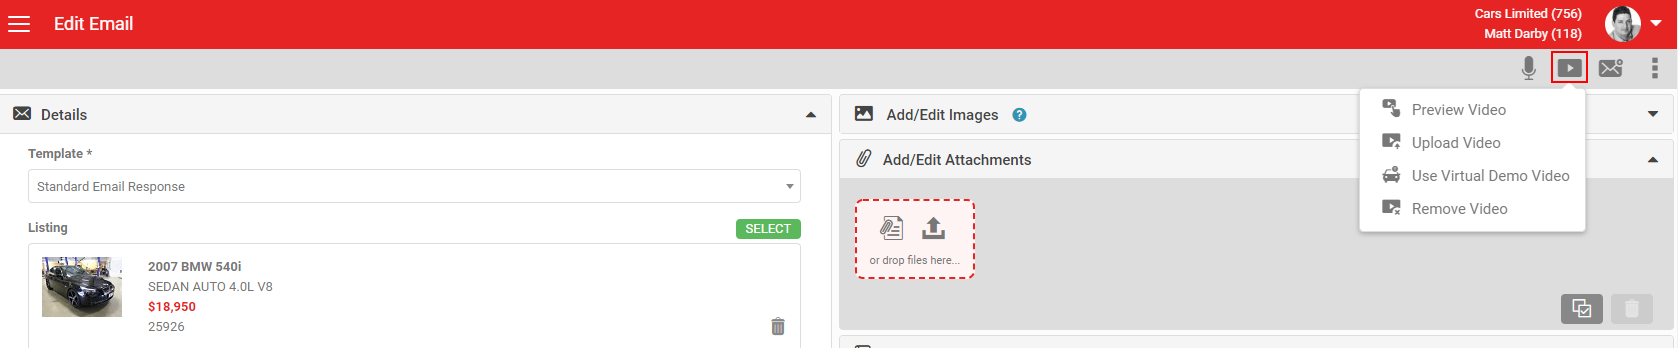
- Preview Video: view the video currently on your email, whether stitched or a true MP4.
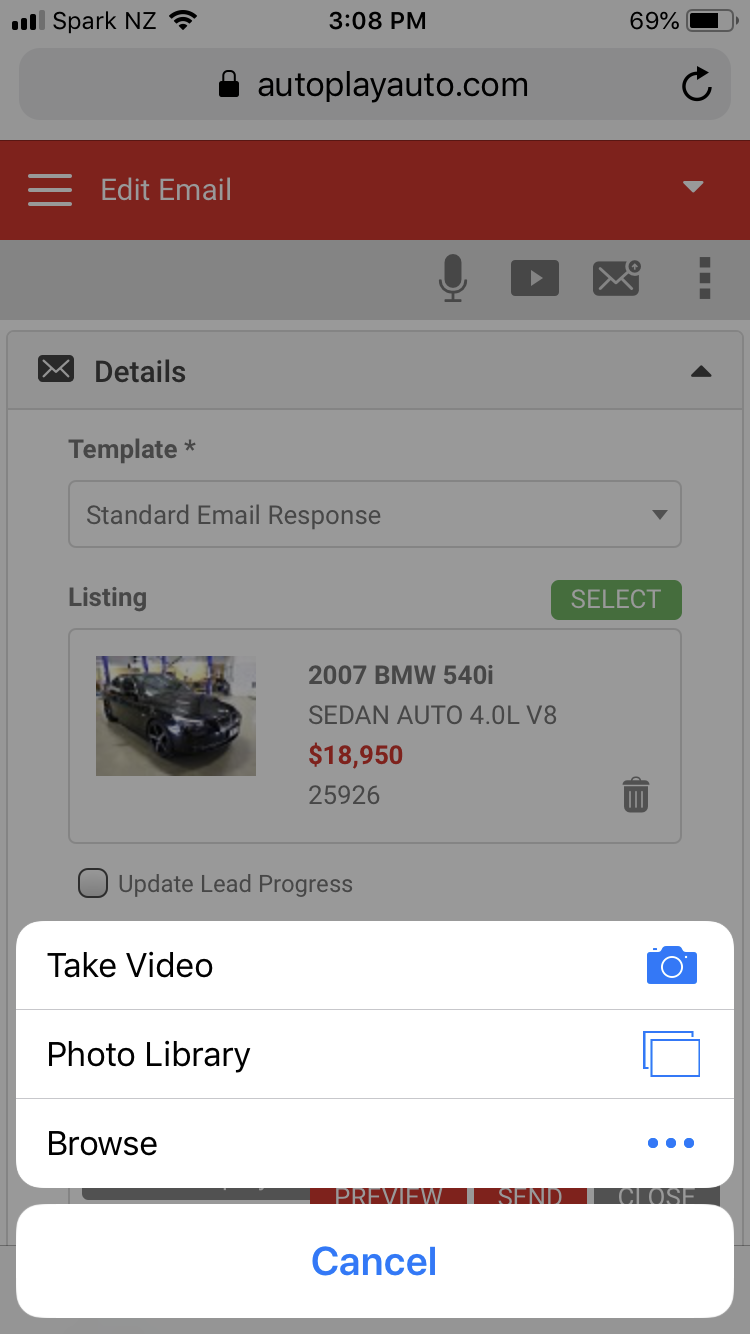
- Upload Video: upload a video file from your device. It must be an MP4 (AutoPlay will attempt to convert other formats) and under 1GB. On a smartphone or tablet, a Take Video option also appears, letting you film and upload directly.
- Use Virtual Demo Video: if the listing has a Virtual Demo Video built (for the stock page or Live Leads), add it to your email.
- Remove Video: remove the current video.
Uploading a video wipes any audio previously recorded for a stitched-together video.
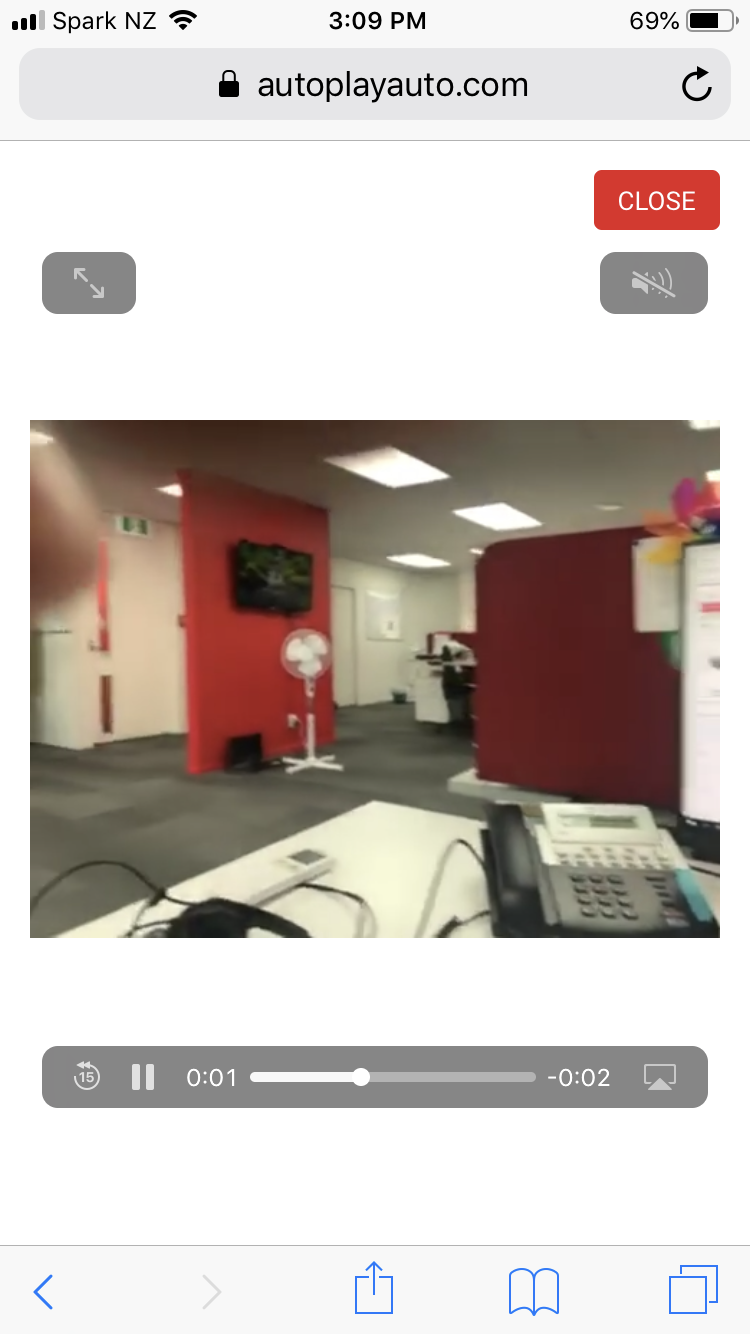
As with a stitched video, click Save and Preview before you click Send.
You can also send an email as an SMS. See How To Send An Email Via SMS for more.