
1. Start a campaign
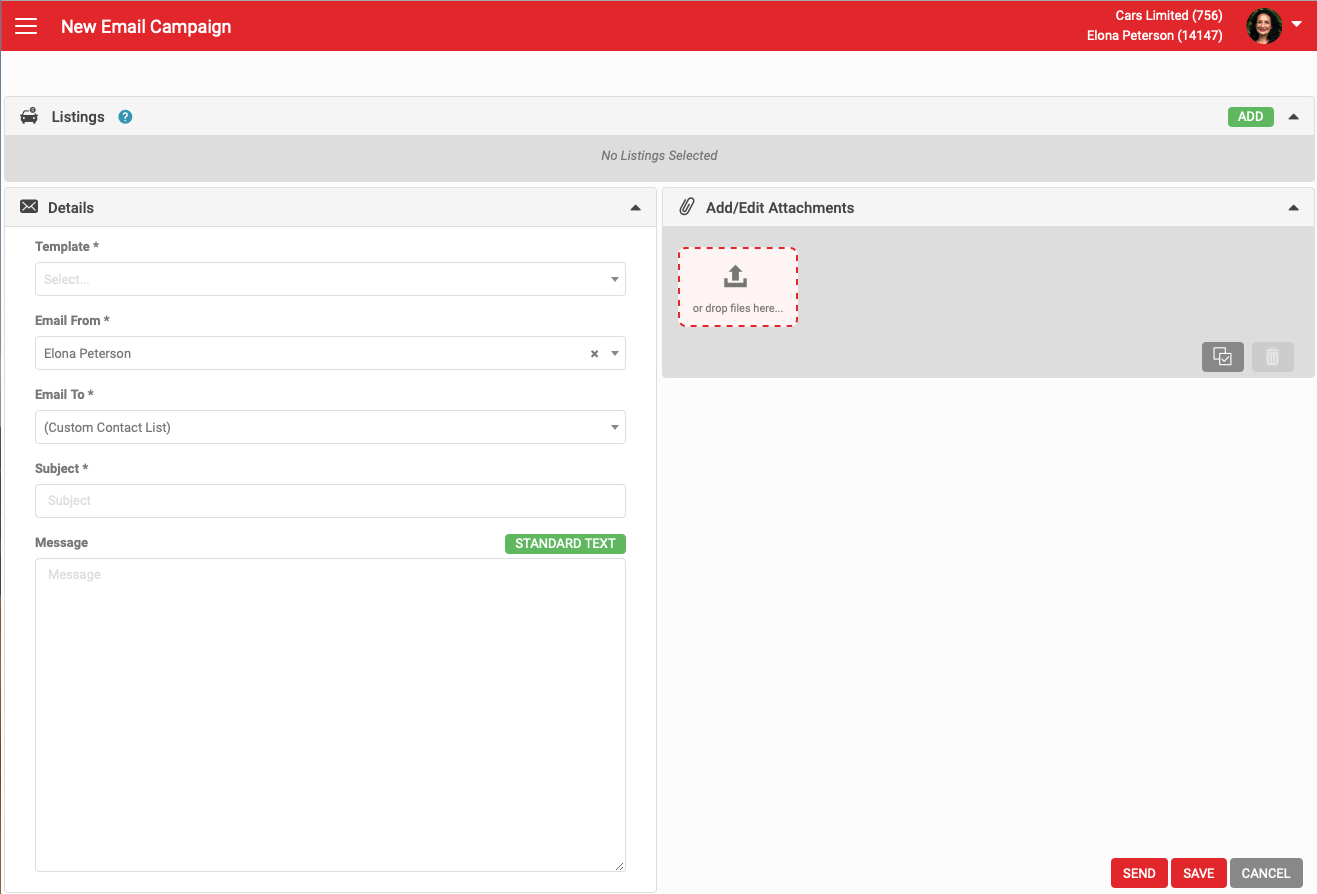
From the Email Campaign screen, click the + icon in the grey action menu to open the New Email Campaign screen.
2. Add listings to your campaign
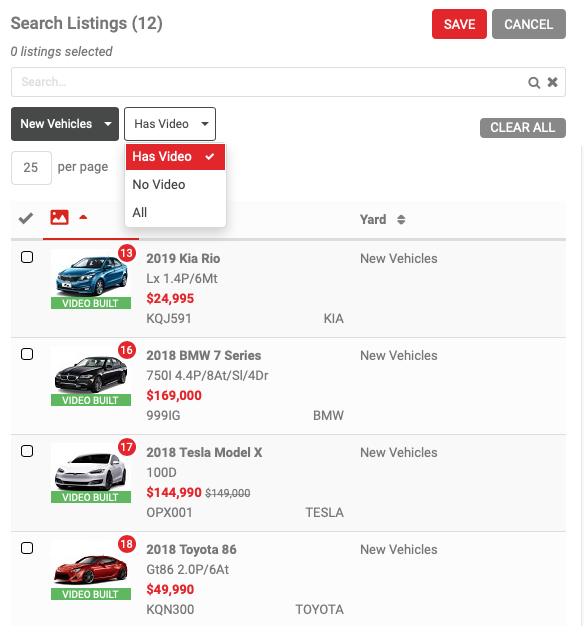
Click Add in the Listings section.
- Filter your selection by yard, and by whether a video is available for the listing.
- A minimum of three listings is required to send a campaign.
- If you choose a listing without a video, you'll be prompted at send time to schedule the video build. You'll be notified when it's ready, and can send the campaign then.
3. Complete the details
- Select your template. Choose a Live Lead template to ensure the campaign sends as a Live Lead.
- Choosing a Live Lead template reveals the Follow Up Settings, where you can choose Manually Follow Up or a pre-defined setting.
- Email From defaults to the logged-in user, but can be changed to any user set up with the Email Campaign role.
- Email To lets you select an existing group, or build a custom contact list.
- Subject is mandatory.
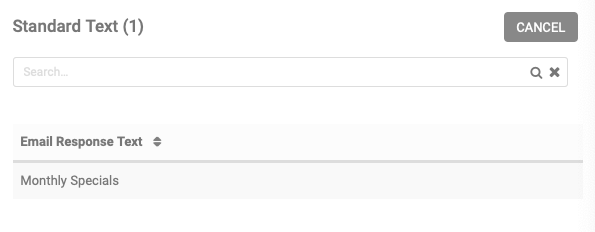
- In the Message field, click Standard Text to open the Standard Text popup and insert any of your available standard text options.
4. Add/edit attachments
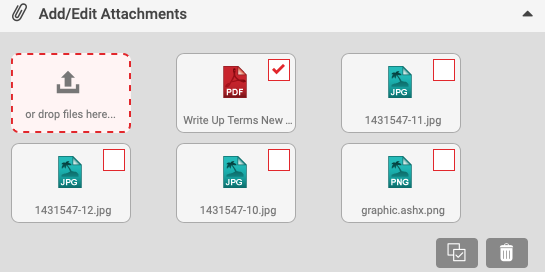
Add JPEG, PNG or PDF files by clicking the upload icon to open File Finder, or by dragging and dropping. With multiple attachments, you can single-select, multi-select or select all, then delete via the rubbish bin icon.
5. Save, send and other options
- Click Save.
- The Preview option now appears at the bottom right of the screen.
- From the grey action menu's More section, you can also:
- Send a test email to the logged-in user
- Download attachments
- Delete the campaign
- View the audit, if you have the View Audit role