Test Drive Forms let a dealership go paperless and stop losing customer details that never make it into the DMS. Dealerships using Sales Pipeline Test Drive Forms have captured up to 9x more customer details than relying on the DMS alone.
There are several ways to create a Test Drive Form.
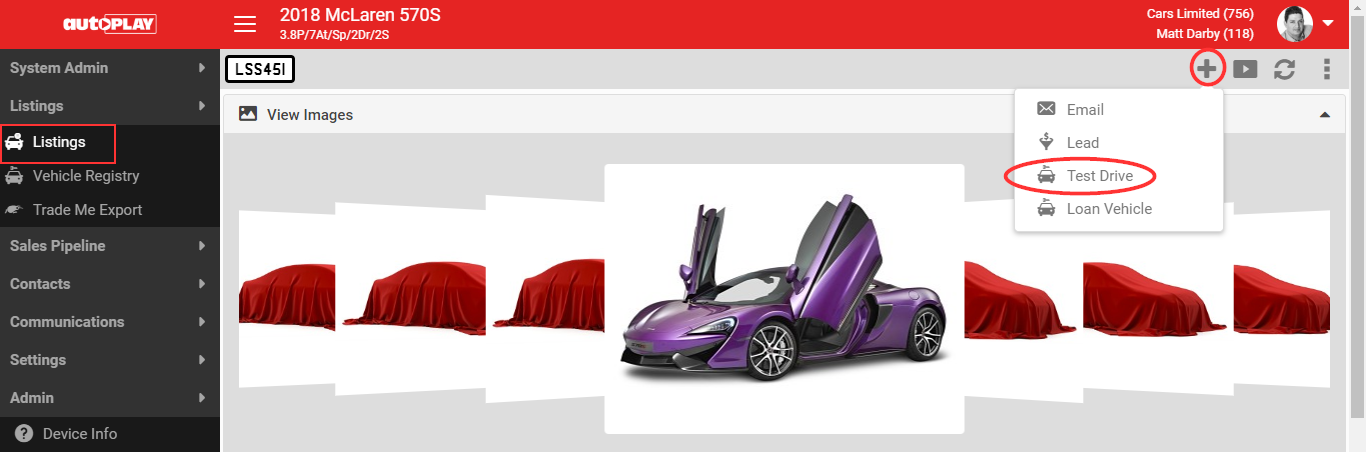
From a listing
On the View Listings screen, click + and select Test Drive. You'll land on the Add New Test Drive screen with the listing already selected.
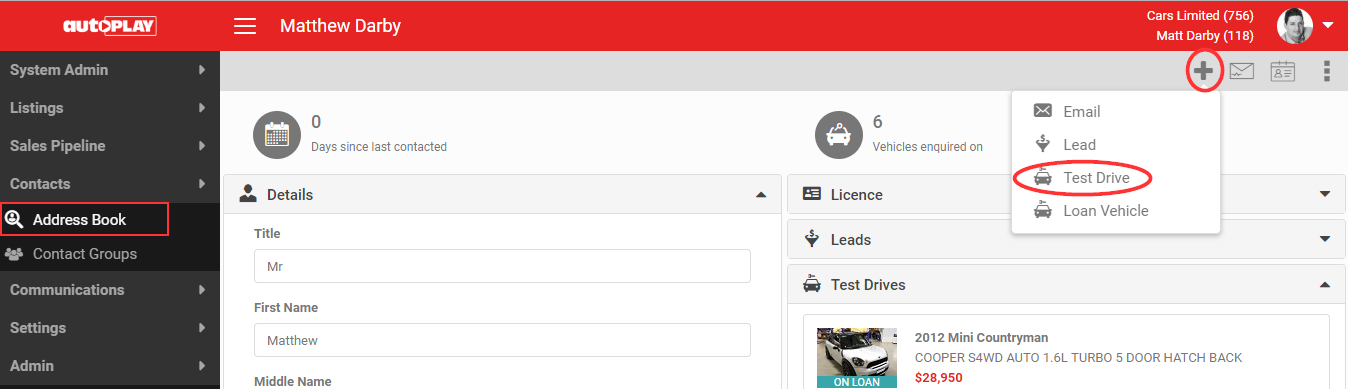
From a contact
Viewing an individual contact in the Address Book, click + to add a new Test Drive Form. You'll land on the same screen with the customer record already selected.
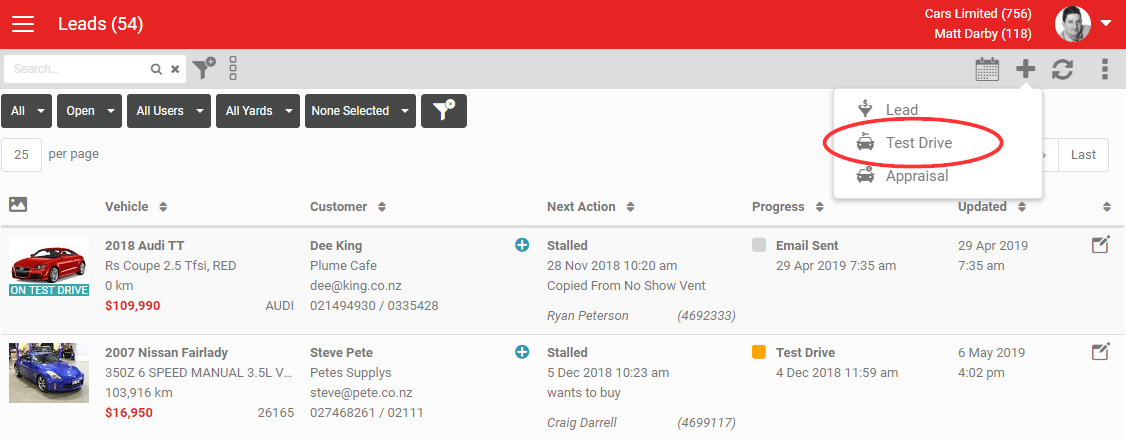
From the Dashboard
Click + and select Test Drive to create a lead and a test drive together. You can't create a Test Drive without a lead, but this option guides you through both steps at once.
If you create the Test Drive immediately, any driving licence photo you scanned is stored against it automatically, with no need to rescan. If you don't create the Test Drive straight away, only the licence details are kept; the licence image is discarded for privacy.
1. Enter the customer's details
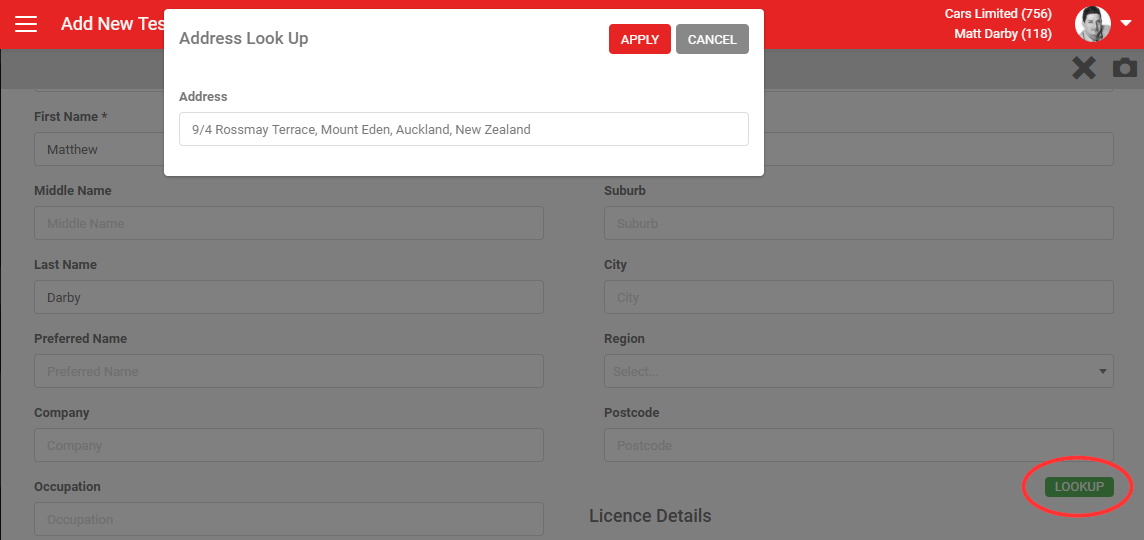
You can manually key in the customer's name, address and licence details. Accuracy matters here, since this is how you identify who had the vehicle. Click Lookup under the address fields for a Google address lookup.
2. Scan a business card or driving licence
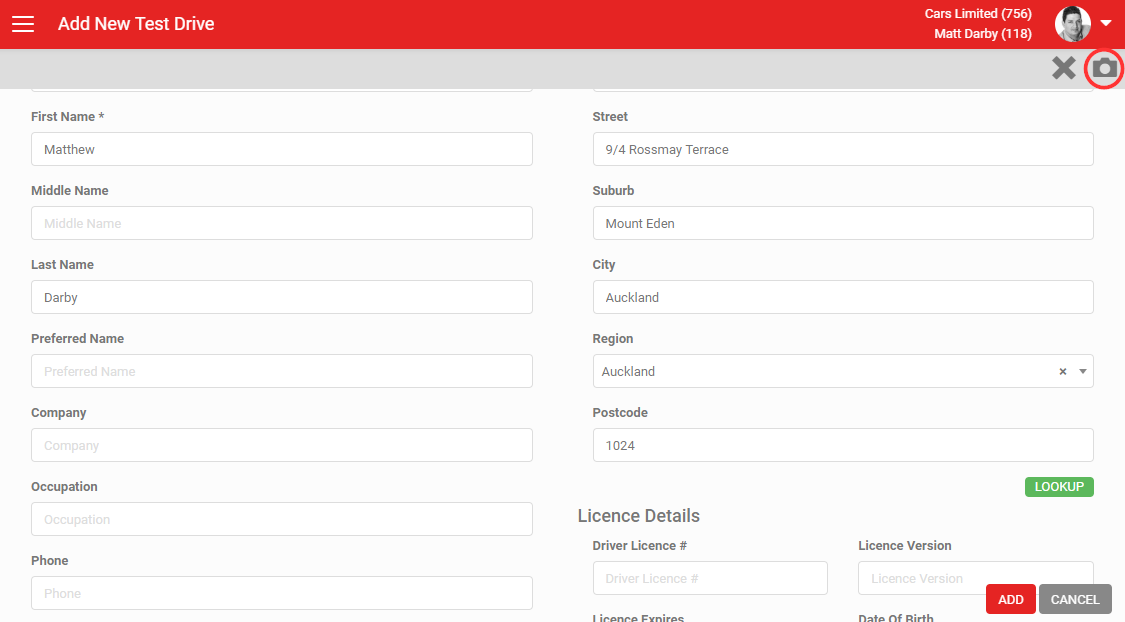
Use the built-in scanner via the camera icon in the grey action menu, instead of typing details manually. See How To Scan Drivers Licence Or Business Cards for more. Scanning here is worthwhile, since it's saved automatically if you complete the Test Drive Form straight away.
3. Look the customer up in your database
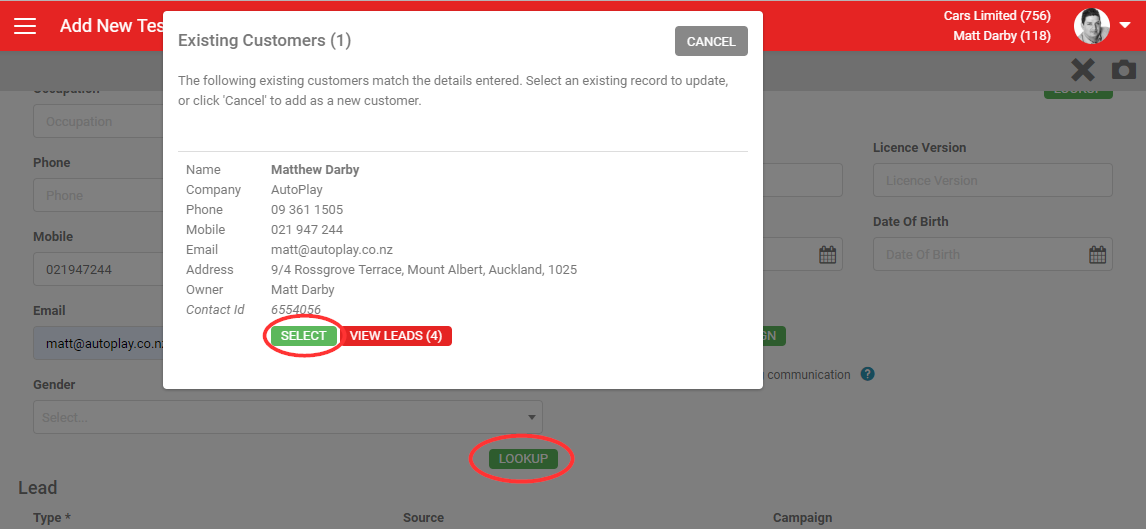
Click Lookup to search existing customers based on the details entered. At least one of First Name, Last Name or Company, and one of Phone, Mobile or Email, is enough to search. If the customer has open leads, click View Leads to see a brief summary. Select a matching record, or click Cancel to ignore it.
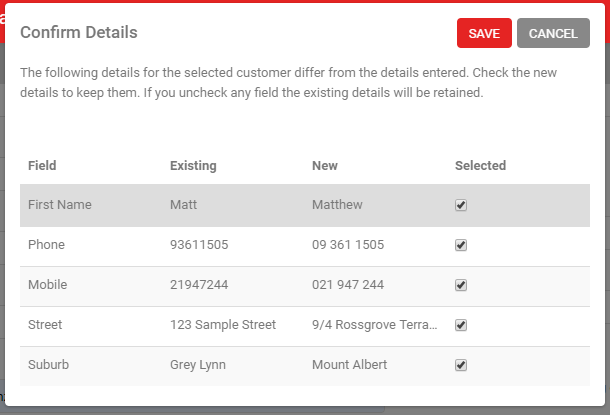
Click the red Add button to continue. If you haven't already run a customer search, AutoPlayAuto.com runs one automatically and flags any similar existing customers so you can update conflicting details.
Complete the mandatory fields, which are the same as when creating a lead.
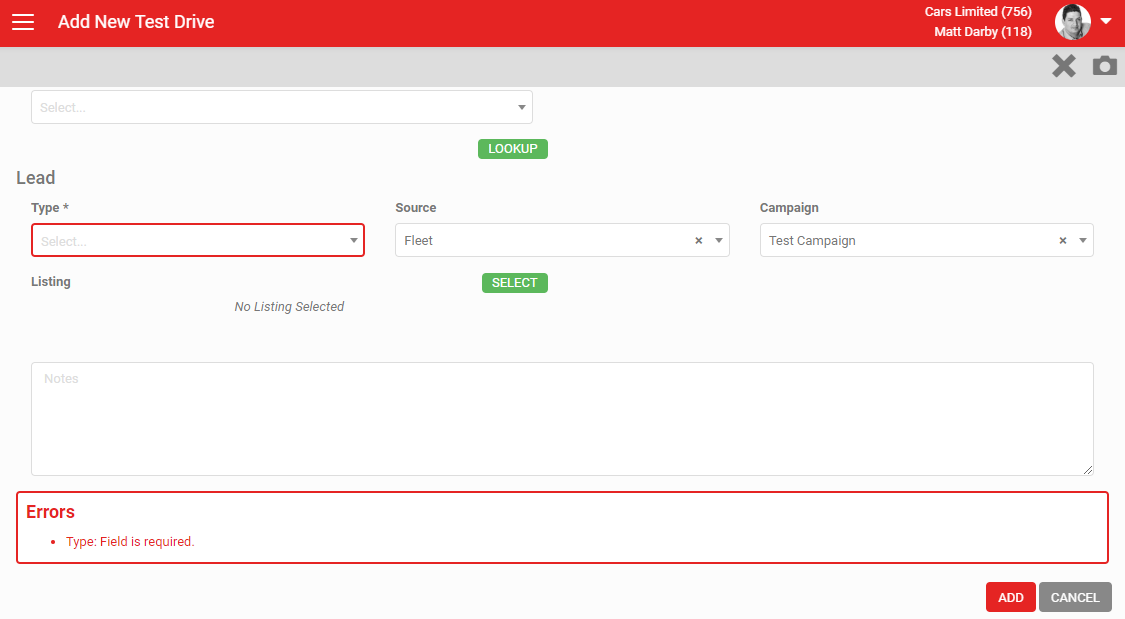
At this point you've reached the Test Drive Form screen, but haven't yet created it. Click Save before leaving the screen or nothing is recorded.
From a lead
The most common way to create a Test Drive Form is from an existing lead. Starting from a lead, you don't need to select a customer, listing, lead source, type or campaign, since these are already captured on the lead.
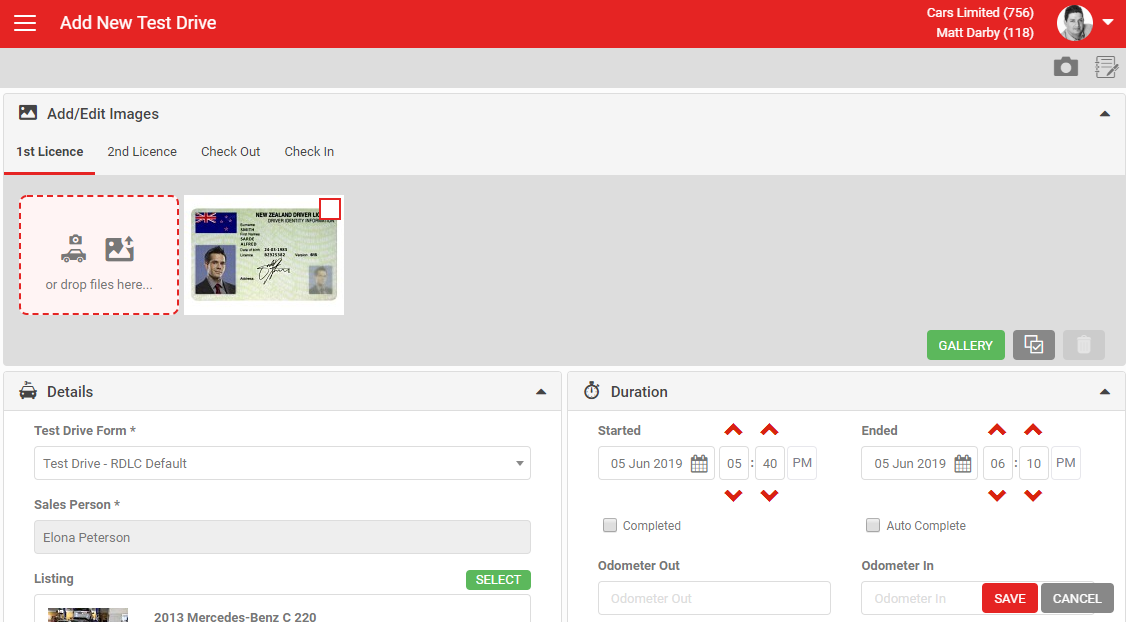
Capture as much detail as possible across the following sections.
1. Details
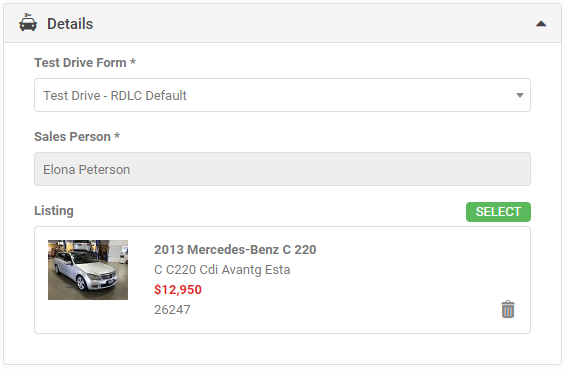
Test Drive Form: choose which version to use for printing. This is compulsory but defaults to whatever's set up for your yard, so it only matters if you have alternate versions. See How To Set Up Test Drive T&Cs And Form Templates for more.
Sales Person: locked to the lead's current owner. A manager can create a Test Drive for another user, but it still displays the current lead owner as the salesperson.
Select A Listing: usually already selected from the lead, so this step can be skipped. If the lead is on a different vehicle, such as a brochureware listing, change it via Select. Choose from any listing already on the lead, or click Select More for every listing you have rights to view in the Listings role, searchable by keyword or yard. Any Other listing selected here is added to the lead automatically.
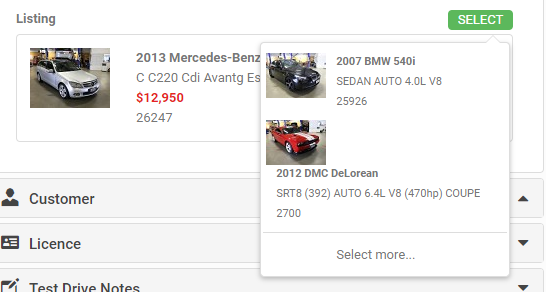
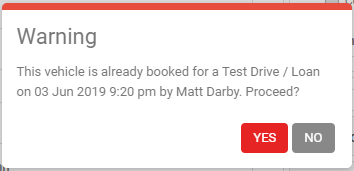
If the listing is already booked on another Test Drive or Loan Vehicle Form, you'll see a warning.
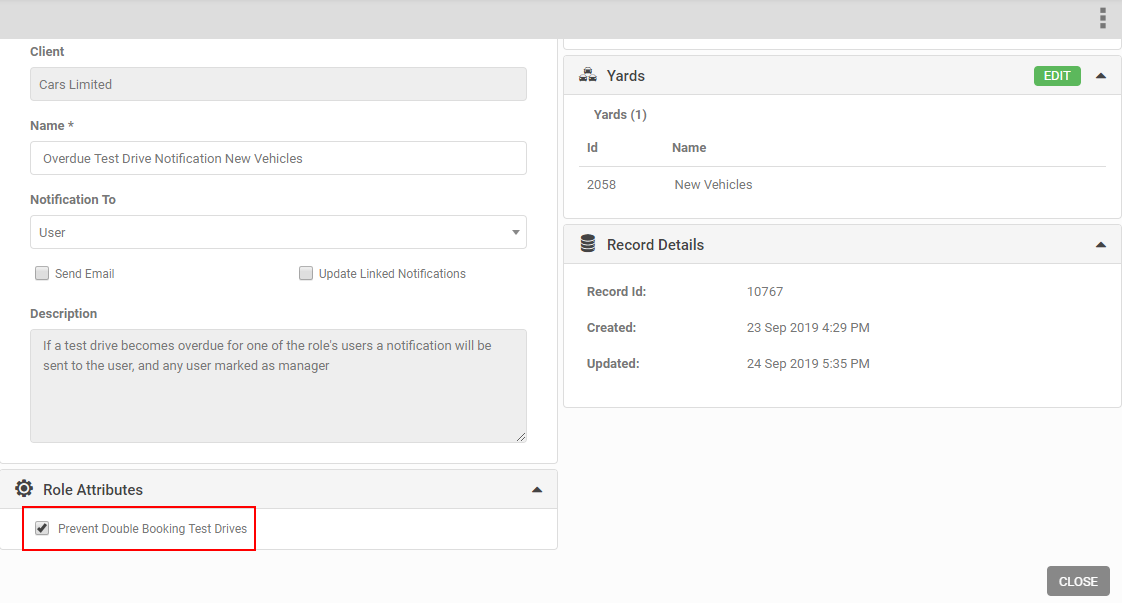
Since 19.4, AutoPlayAuto.com can not only warn about a double-booked vehicle but also prevent it. The role attribute Prevent Double Booking Test Drives, when added to a yard's role, stops a user booking a vehicle out if it's already booked on a Test Drive or Loan Car Form with a conflicting time. The existing test drive needs to be completed before a new one can be booked for that vehicle.
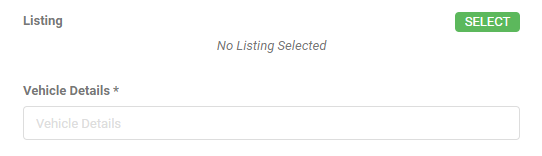
To record a test drive against a vehicle you don't have in stock, delete the listing to reveal a field for manually typed vehicle details. This doesn't delete the listing from the lead.
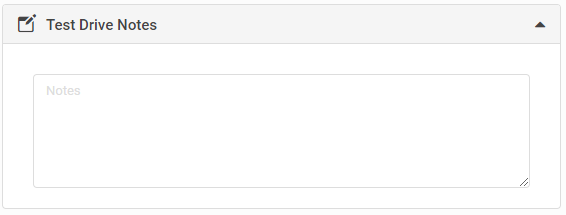
2. Test Drive notes
Notes: enter anything relevant to the test drive. Drag the corner of the field for more space if needed.
3. Duration
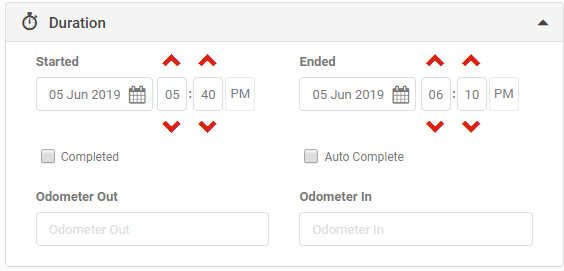
Start Date/Time: defaults to now. Change it to schedule a test drive ahead of the customer arriving.
End Date/Time: defaults to now plus 30 minutes. If this passes before the form is completed, AutoPlay generates an overdue notification. See How To Manage Overdue Test Drives for more.
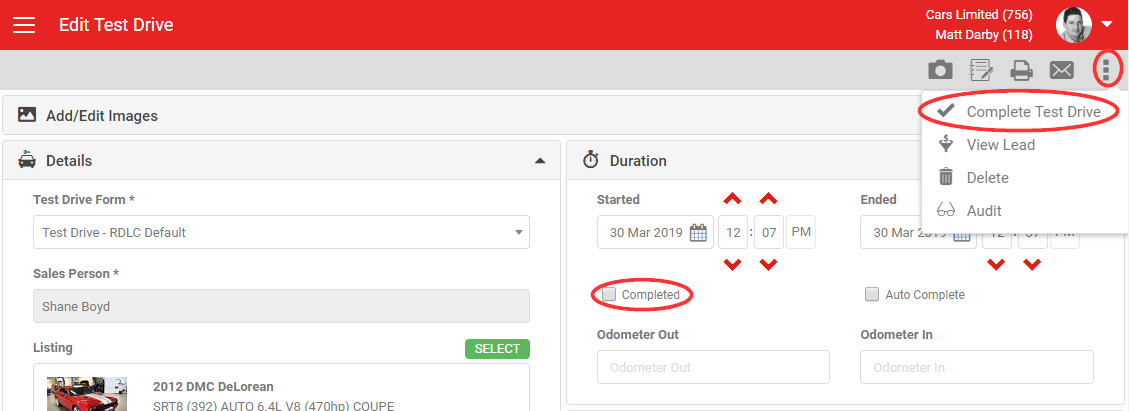
Completed: records when the test drive finished. See Completing Test Drive Forms.
Auto Complete: enter an end time in advance and tick this to automatically book the listing back into stock.
Odometer Out: records the kilometres on the vehicle before the test drive. Recording Odometer In on return tells you how far the customer drove.
4. Second Driver
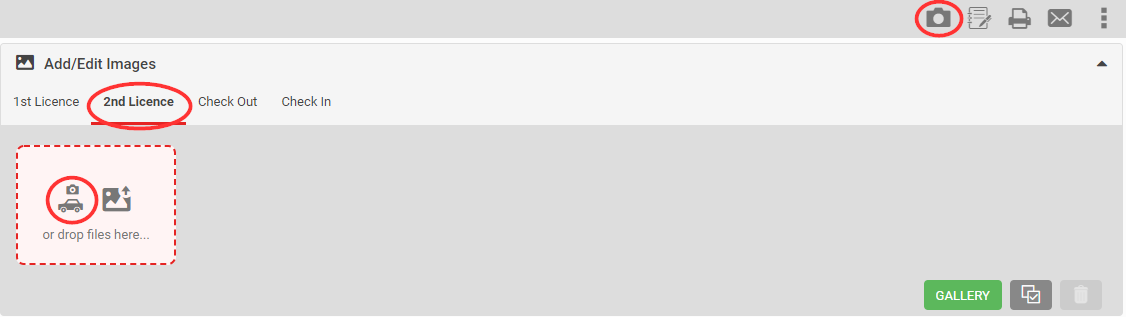
If there's a second driver, capture their details here, including a photo of their licence via the camera icon or the Add/Edit Images section. Click 2nd Licence first to make sure you're adding the second driver's details, not the first.
5. Options
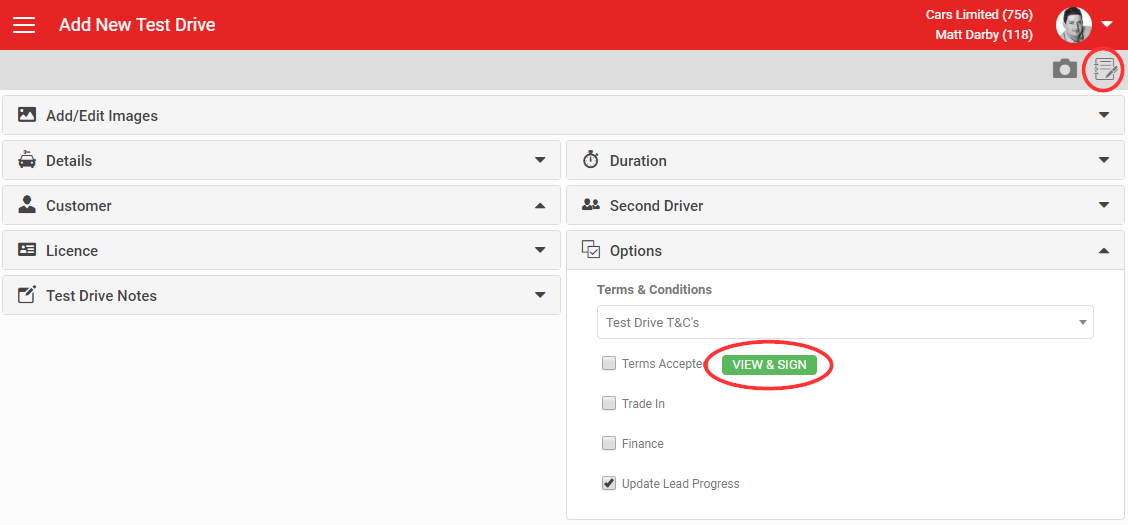
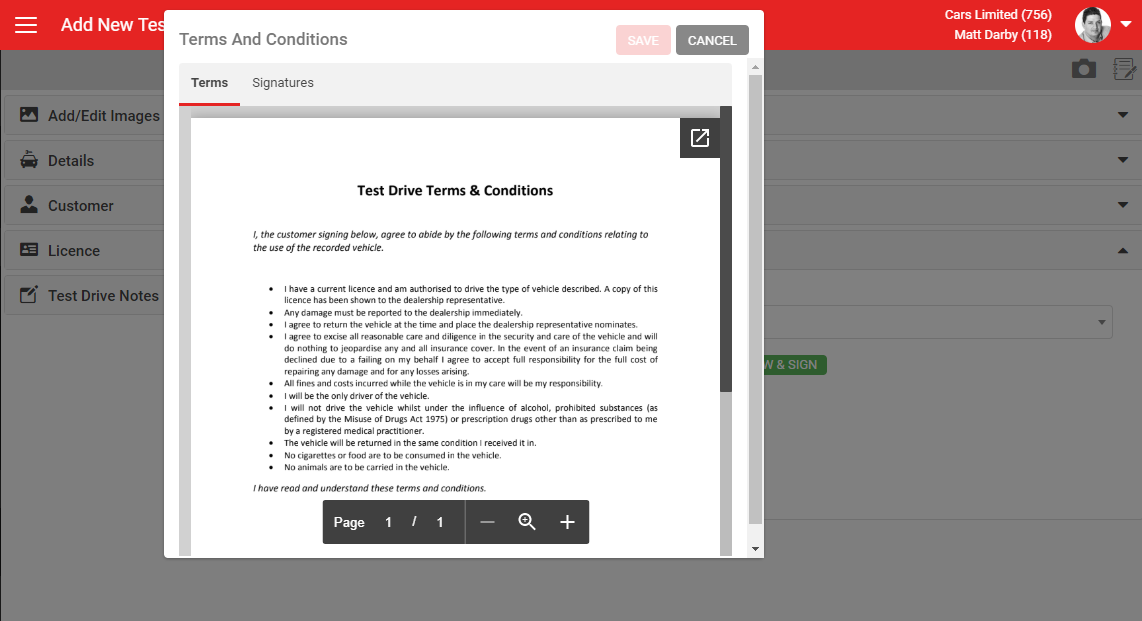
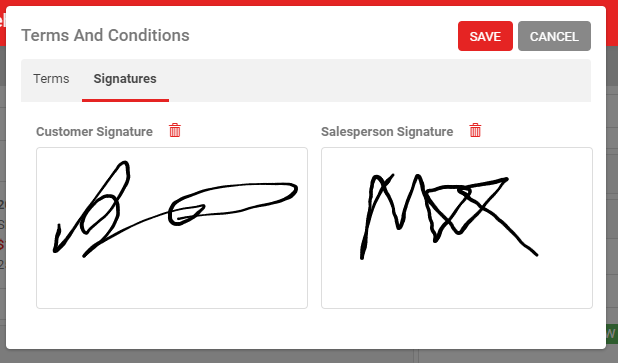
Before handing over the keys, disclose the Test Drive T&Cs and get them signed (see How To Set Up Test Drive T&Cs And Form Templates for managing these), via the icon in the grey action menu or View & Sign in the Options section.
Test Drive T&Cs: select a different set if you have more than one, defaulting to whatever's set up for your dealership and yard. A signed T&Cs image is saved at the time of signing, so a later T&Cs change doesn't affect what the customer actually agreed to.
Terms Accepted: date-stamped once signed, and can be set as a mandatory field.
Trade In: tick to record that the customer may have a trade-in for future reference.
Finance: tick to record that the customer may be interested in finance.
Update Lead Progress: ticked by default, and automatically updates the lead's progress to Test Drive.
6. Check Out
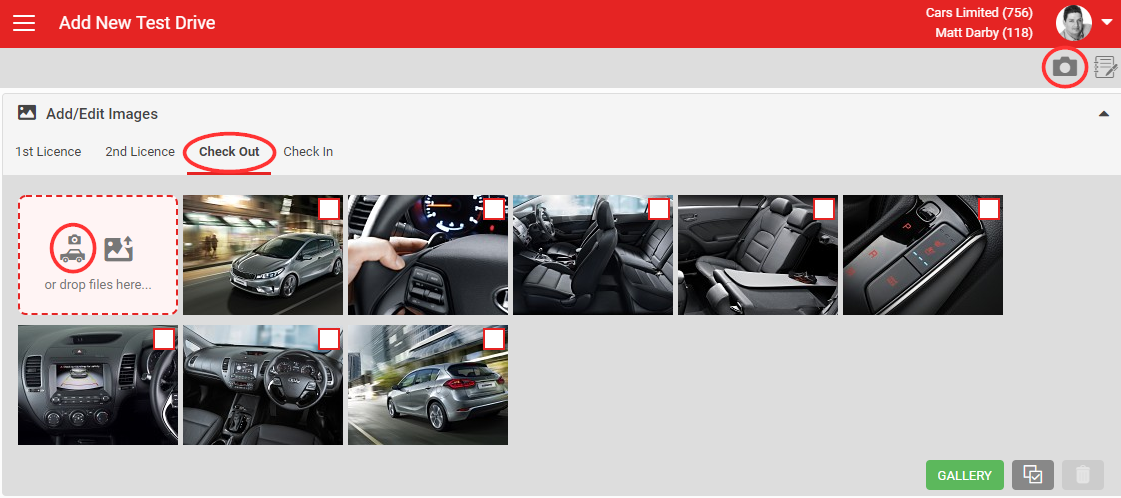
Before handing the vehicle over, photograph its condition. This isn't compulsory, but helps if damage is later disputed. Click the Check Out tab in the Add/Edit Images section, then use either camera icon.
7. After saving
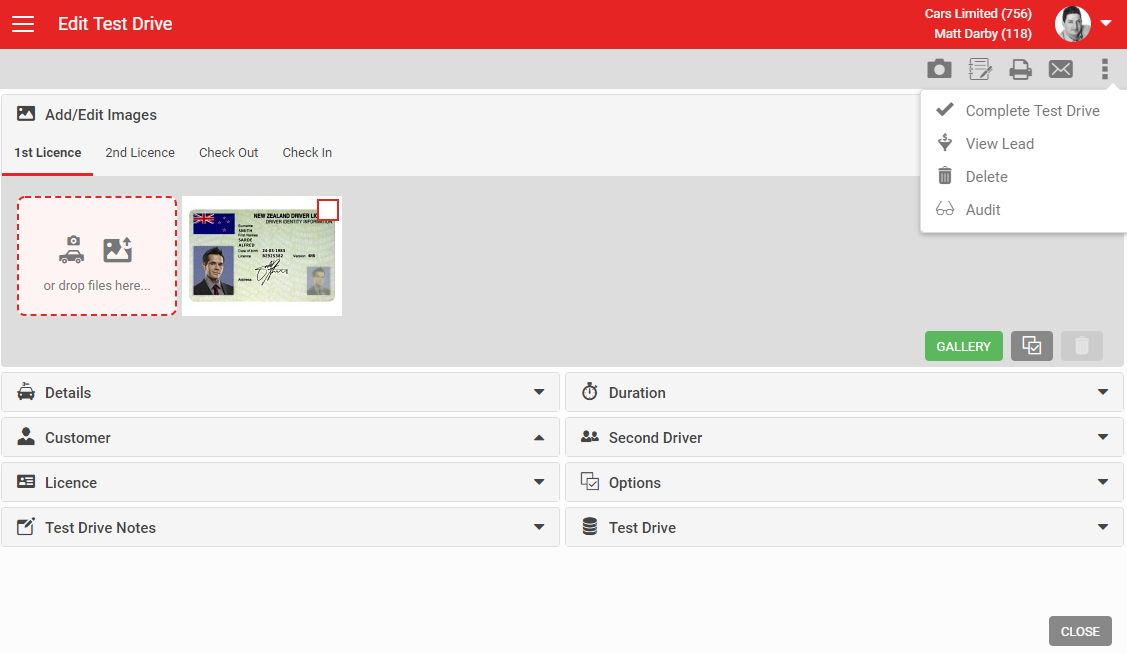
Once saved, a few new options appear in the grey action menu:
- Print: see How To Print Test Drive Forms.
- Email: see How To Email Test Drive Forms.
- Delete: available to managers in the Manage Leads role. See How To Delete A Test Drive Form.
- Audit: available with the Audit role, showing a full history of changes.
- View Lead: navigate back to the lead, useful if you arrived via the Vehicle Registry.
A red Save button appears while you have unsaved changes. Otherwise, use your browser's back button or click Close to return to the lead.
Remember to check the test drive vehicle back in when it's returned. While it's out, an "ON TEST DRIVE" banner appears against the listing throughout the system. Checking it back into stock removes the banner. See Completing Test Drive Forms.