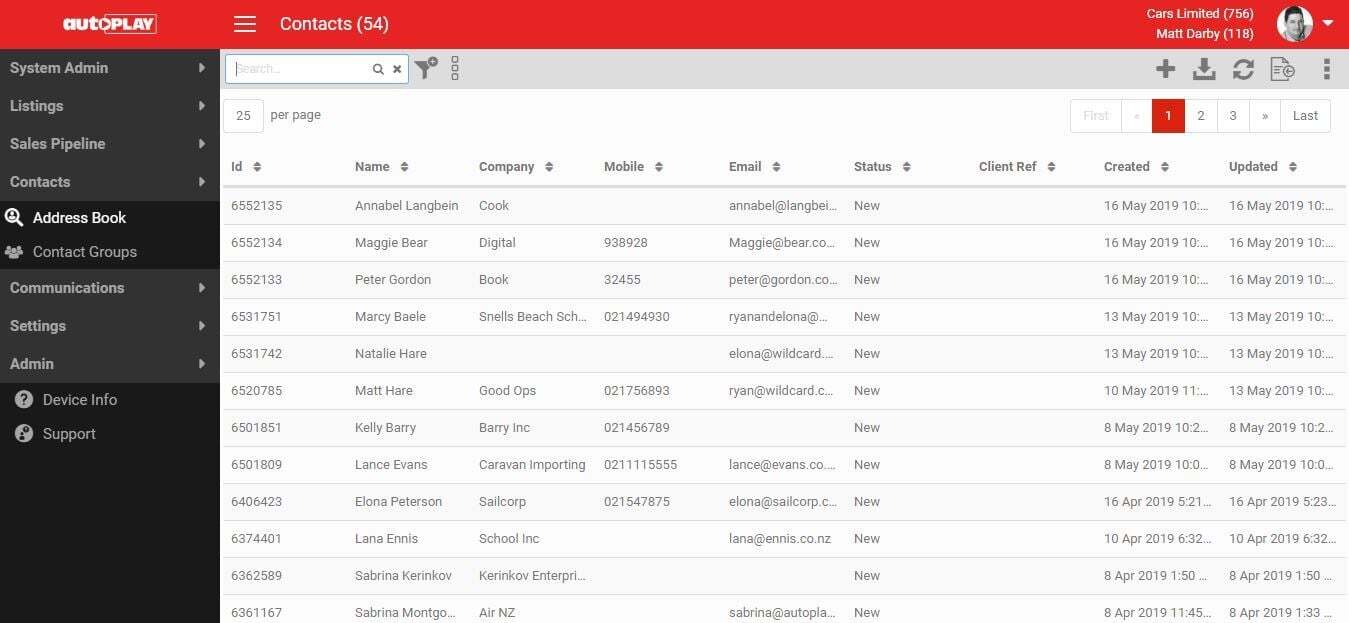
The Address Book holds every contact created in AutoPlayAuto.com. A total count shows in the red header, for example "Contacts (54)".
Since a dealership can have hundreds of thousands of contacts, only 25 show at a time by default (change this to 10, 25 or 50 using the "per page" selector), keeping the Address Book fast regardless of size. Use the page numbers at the top and bottom of the results to move through the list.
The Address Book table shows the following (smartphones show less, due to space):
- ID (AutoPlay Contact ID)
- Name (first and last)
- Company
- Mobile
- Status (New, Current, Opted Out)
- Client Ref (third-party/DMS contact ID, if integrated)
- Created Date (when the contact was first created in AutoPlay)
- Updated Date (the most recent change to the contact in AutoPlay)
As with every table in AutoPlayAuto.com, click a column heading to sort alphabetically, numerically or by date.
Searching for contacts
By default, the most recently created 25 contacts are visible. Narrow the list using the keyword search, which matches on:
- Contact ID
- Name (first or last)
- Company
- Mobile
- Phone
- Client Ref
Clear the keyword search using the small x inside the search field. Click Show/hide advanced search options to narrow the search further.
By default, search covers "New" or "Current" contacts. New contacts haven't yet been sent a successful email via AutoPlay; Current contacts have received an Email Response or Email Campaign that verified their address. Add "Opted Out" (via email or manually), "Undeliverable" (an email that AutoPlay couldn't deliver), or "Invalid Email" (an incorrectly formatted address) to broaden the search, or select "All" to include every type.
The date range defaults to "All Dates", but can be changed to "This Month", "Last Month", "This Year", "Last Year" or a custom range.
Managing multiple contacts
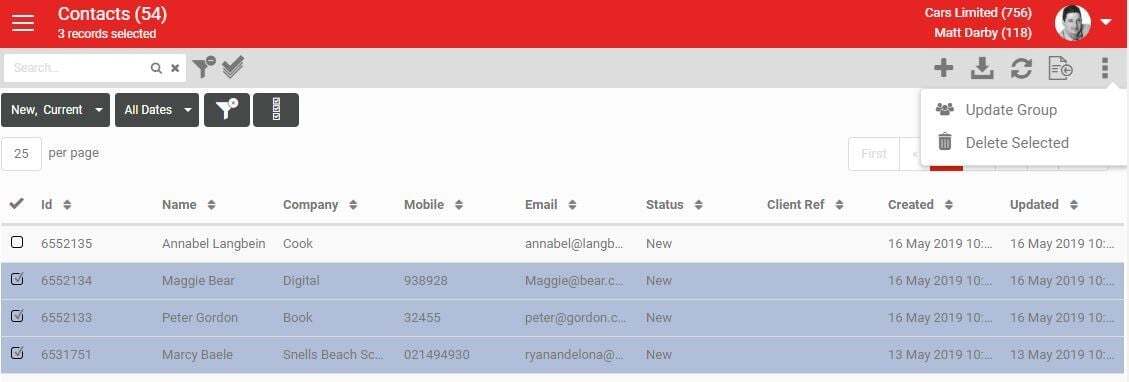
To delete or group several contacts at once without opening each one, click the three squares next to the search filter to reveal multi-select checkboxes, or click Select All Filtered Roles to select every contact currently filtered to. Then click More in the grey action menu to:
- Update Group: add the selected contacts to a Contact Group set up in your account.
- Delete Selected: delete the selected contact(s). Avoid this if you have DMS integration, or if the contact has leads against it.
While multi-select is active, you can't click an individual contact to view their full details. Hide the multi-select options first to return to the normal view.
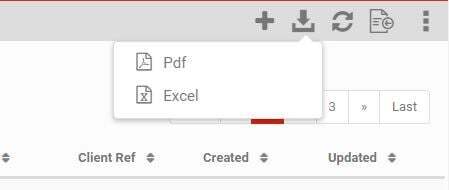
Click the export icon to download a PDF or Excel file of every currently filtered contact, not just the 25 shown on screen.
Import contacts
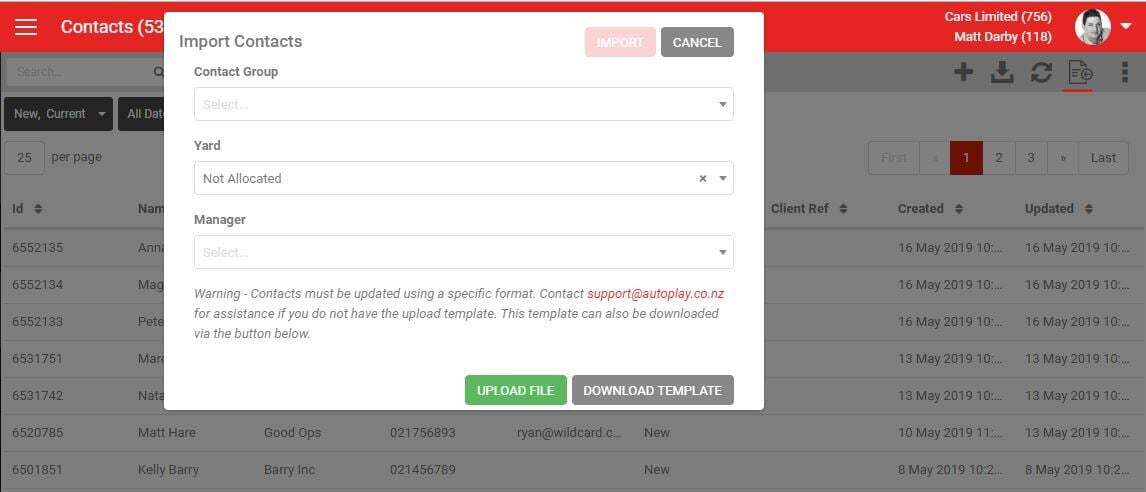
Import contacts from a CSV file via the Address Book. Click Import Contacts, then choose to add them to a Contact Group, Yard or Manager (the managers shown are anyone ticked as a manager in the Manage Contacts role).
Contacts can only be uploaded using AutoPlay's CSV format and field names. Download a template from the Import Contacts popup via the Download Template button. Save your file as a CSV and close Excel before uploading. Once uploaded, these contacts are available to email or load leads against.