This article explains how to set up and manage Listing Options in AutoPlay.
Listing Options are Features you can add to new vehicles. OEMs and dealers use this function to load the Options available in AutoPlay, then retrieve them through the AutoPlay Data API to list those options online, in tools such as vehicle configurators.
Before you start
The Listing Options menu item only appears when the Role Attribute is added to the LISTINGS role in Role Management. An account can have multiple Listings roles. If a user belongs to at least one role with the 'Manage Options' checkbox ticked, they can see this screen.
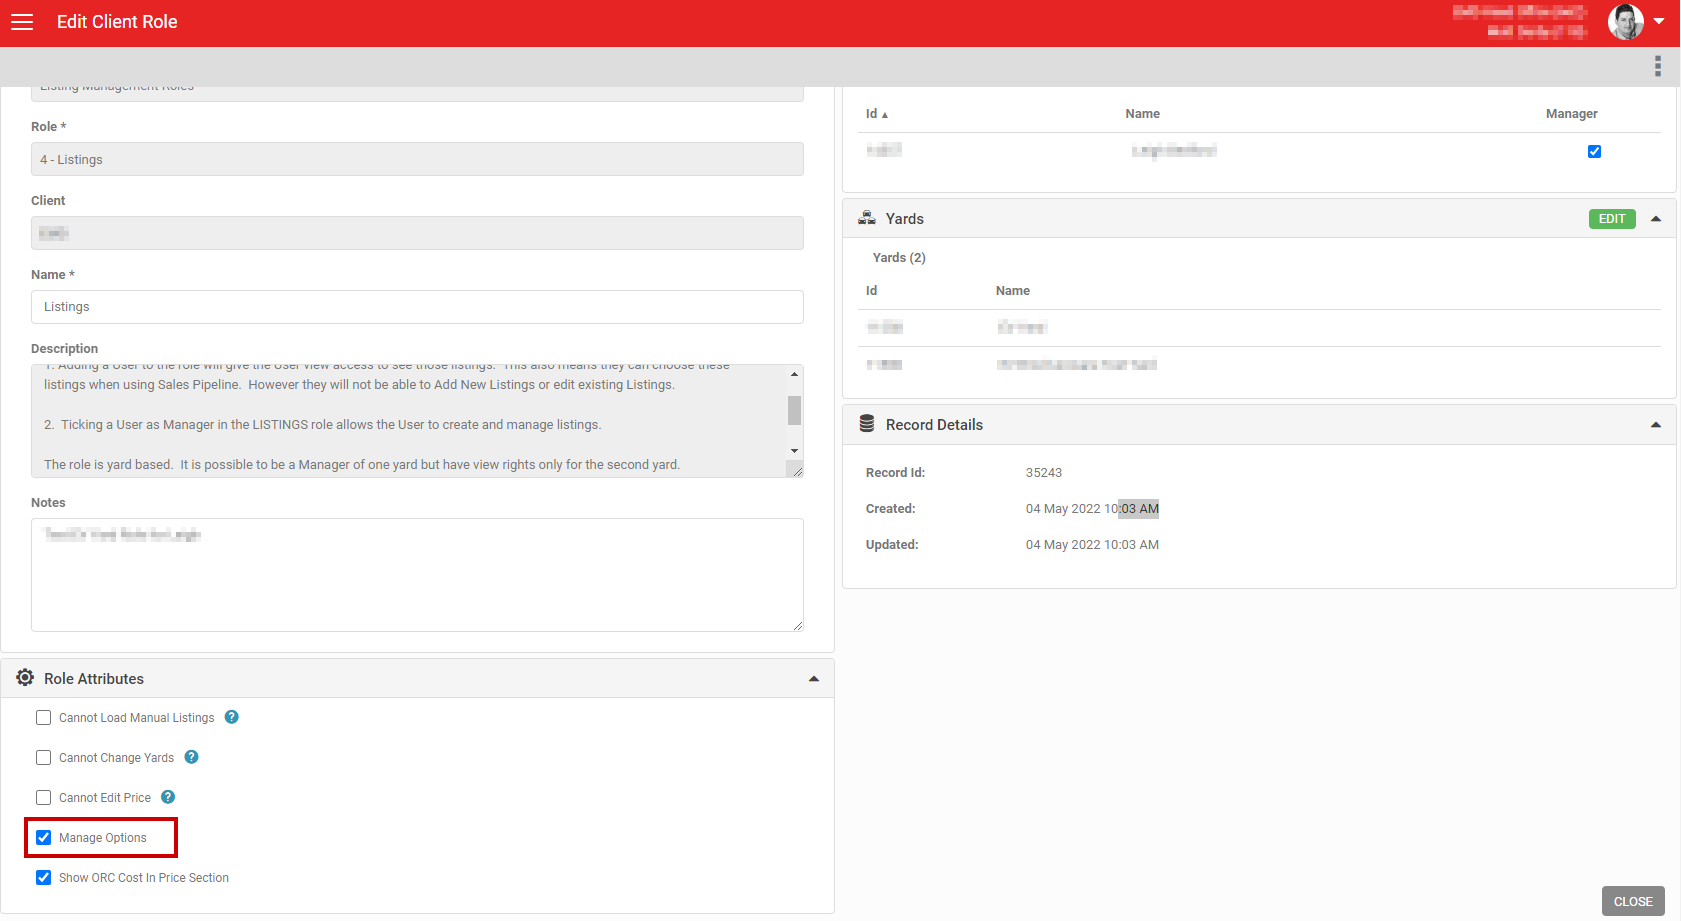
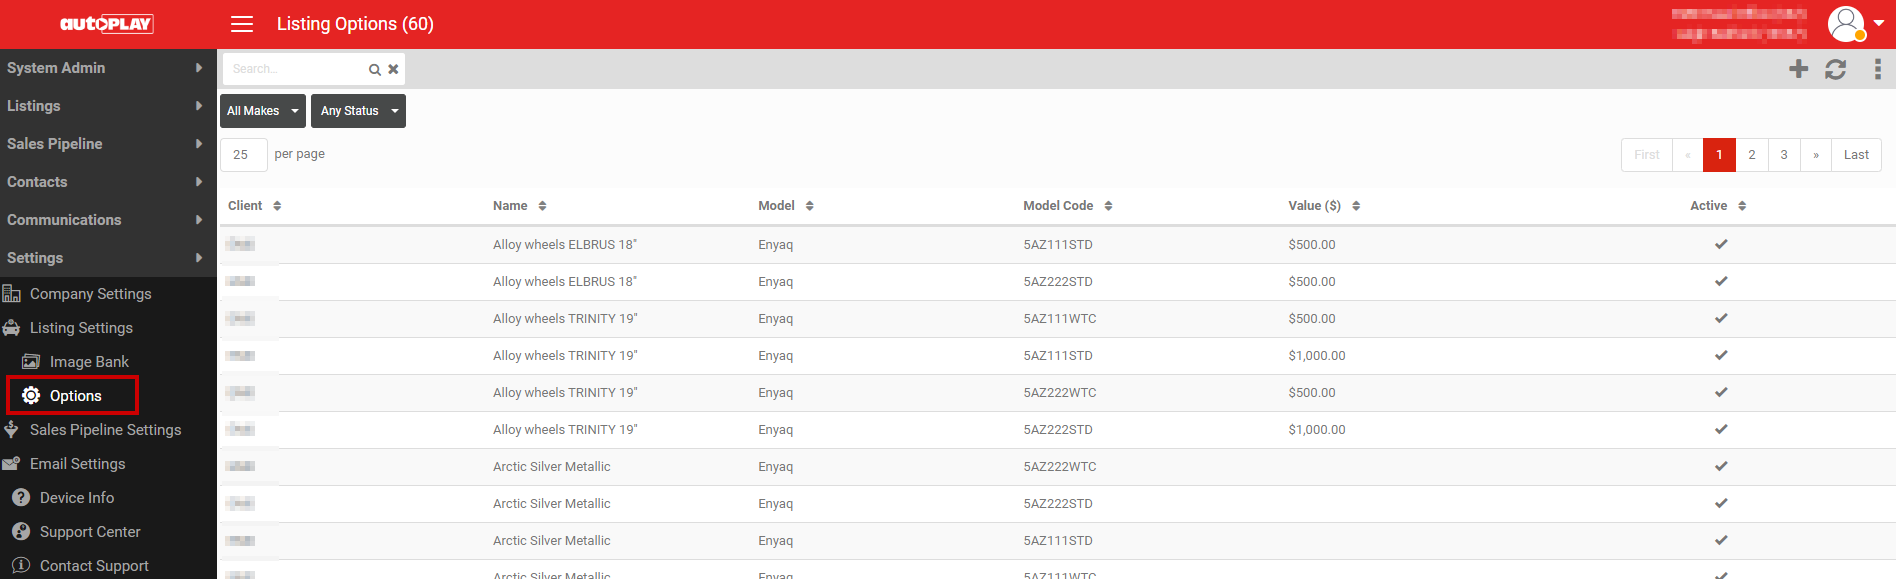
Once the Role Attribute is enabled, the menu item appears under SETTINGS > LISTING SETTINGS > OPTIONS.
Viewing and exporting Options
The Options screen shows a table of all Options uploaded to the account. You can search by keyword, make, or status (Any, Active, Inactive).
Click an Option to view its detail screen.
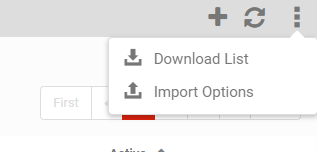
Use 'Download List' to export a CSV of all your current Options.
Loading an Option
There are two ways to load an Option: manually, or by importing a CSV.
Manual load
Click the + button in the top right of the application.
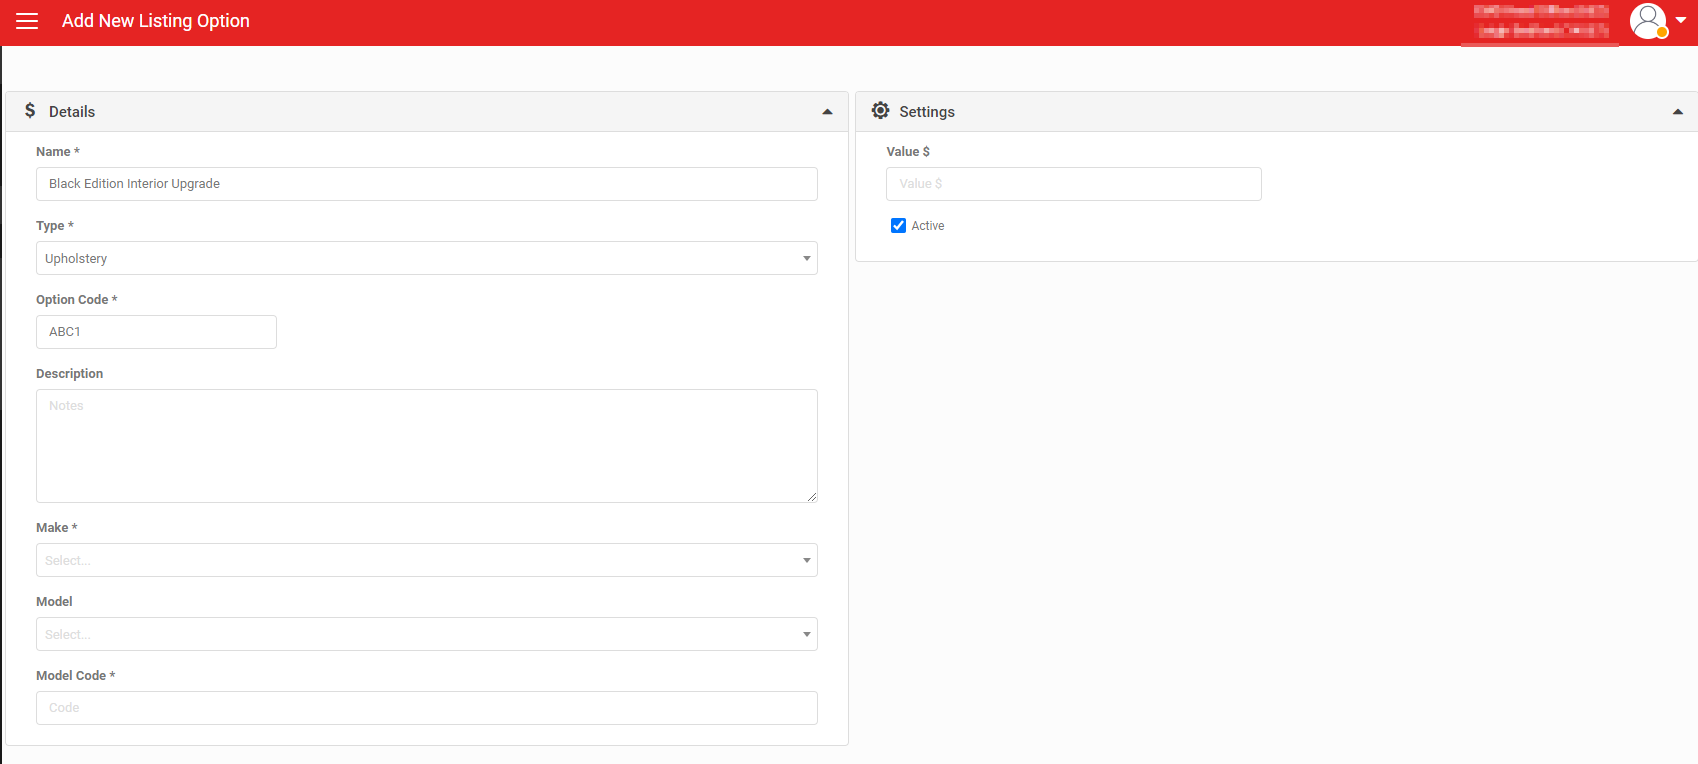
Enter the following fields:
- Name: depending on your use case, this may display online, so make it descriptive and appropriate.
- Type: choose from Colour, Upholstery, Option, Pack, Roof, Wheel.
- Option Code: if your Option has a code in another system, reference it here as a unique identifier.
- Description: an optional sentence describing what the Option contains. You can use basic Markdown here.
- Make: the make this Option applies to. Make is currently mandatory and cannot be set to Any.
- Model: if the Option only applies to specific models, specify it here.
- Model Code: the model code the Option applies to.
- Value $: the dollar value of the Option.
- Active: tick whether the Option is active. Only active records are retrievable through the API.
Click SAVE in the bottom right corner to save your record.
To delete a saved Option, click the three-dot menu and select DELETE.

Bulk load by CSV import
For bulk changes to your Options list, use the CSV import instead of loading records one at a time.
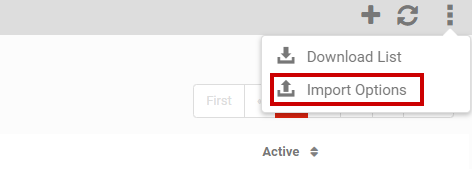
From the 'Import Listing Options' popup, you can add to your existing list of Options, or tick 'Replace all existing options' to replace the full list.
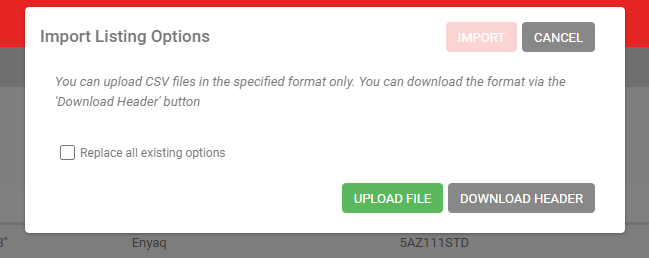
The upload only works if the file is in the correct format. If you have previously used 'Download List', you can reuse that spreadsheet to upload. You can also use 'Download Header' to get the template your upload needs to follow.

Your Option Types and Makes must match exactly how they are set up in AutoPlay. The rest of the spreadsheet is free text and imports whatever you specify. If you include an ID, AutoPlay updates that existing Option, which is useful for updating a price while keeping everything else about the Option unchanged.
Save the file as a CSV and close it on your computer before clicking 'Upload File'. Once you have done this, the popup shows the file name under 'File To Import'.
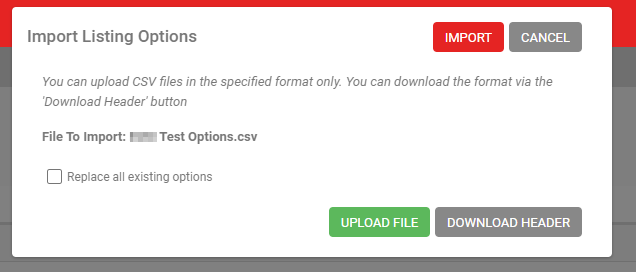
Click IMPORT to proceed with your upload, or 'Upload File' again if you want to swap the selected file. The file is then queued for upload on AutoPlay's servers. This generally completes within a few minutes, but allow 10 to 20 minutes for it to process.
Querying Options through the API
The Tokenised Data API has a method called 'ListingOptions' that returns the full table of Options set up in the account. Options are not attached to any individual listing. Instead, this method gives API users a list of Options they can apply to listings online.
Example query string:
http://dataapi.autoplay.co.nz/listingoptions.ashx?dealerid=662&modelcode=5AZ111STD
Query parameters
- ModelCode: returns all Options that apply to the specified model code.
- DealerID: returns all Options that apply to the specified dealer. In the example above, all Options are scoped to dealer 662 only.
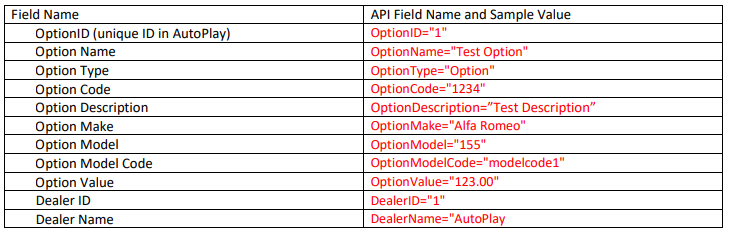
Response fields: