This article helps you find, create and configure Email Templates for use in Email Responses, Live Leads and Email Campaigns.
Before you start
Email Templates involve CSS and HTML. AutoPlay opens access to the Email Templates screen for dealerships able to work with this code. You need the Manage Email Templates role enabled on your user account to access the screen.
Finding your Email Templates
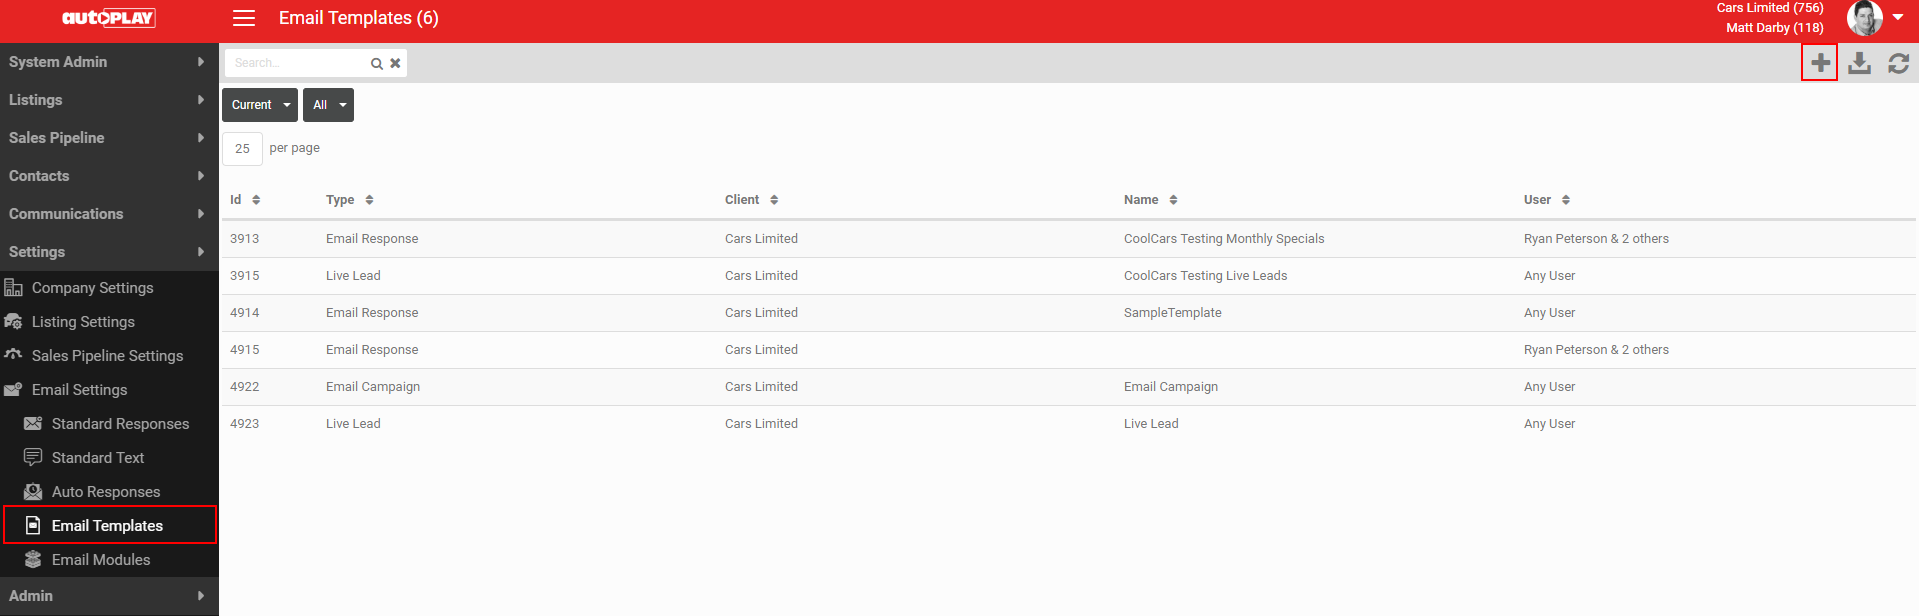
- Go to Settings > Email Settings > Email Templates.
- Search by keyword. This checks the ID, Type, Client, Name and User fields.
- Filter by Status: Any, Current or Archived.
- Filter by Type: Email Response, Live Lead, Email Campaign, System, Video Link, Assistance Request or Report. The default is All, but most dealerships work mainly with Email Response, Live Lead and Email Campaign templates.
You only see templates set to your name or set to Any User. Click a record to open and edit it. Click the Download icon in the grey action menu to export a list of the templates you can access.
Create a new Email Template
Click the + button in the grey action menu to start a new template.
1. Settings
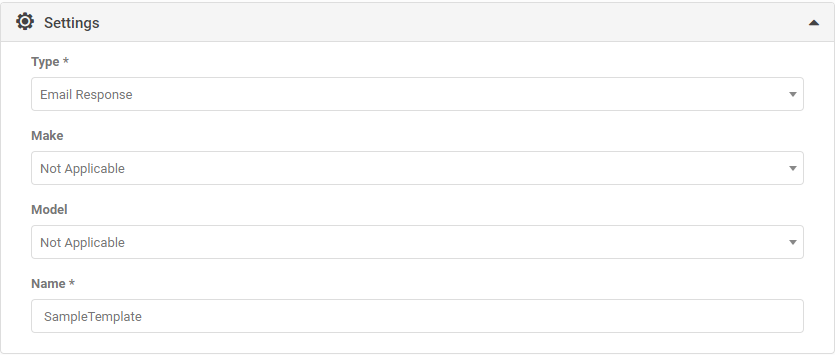
- Type: choose Email Response for one-to-one communication with customers. Choose Email Campaign or Live Leads for bulk email. Live Leads templates let you add multiple videos to the one email. This field is compulsory.
- Make: restrict the template to a specific make, if required.
- Model: restrict the template to a specific model, if required.
- Name: this appears on the Email Templates dashboard and anywhere you select a template, such as in Email and Email Campaign screens.
2. Details
- No Audio: tick this to load listing photos instead of a video by default.
- Use Modules: tick this if the template uses Modules. See the separate article on Modules for more detail.
- Archived: archiving removes the template from your Email Template drop-downs without deleting it. You can reactivate it later.
- Supports True Video: AutoPlay supports two video types: stitched audio and images, and true MP4 video. Tick this box if the template needs to include true MP4 video.

3. Users
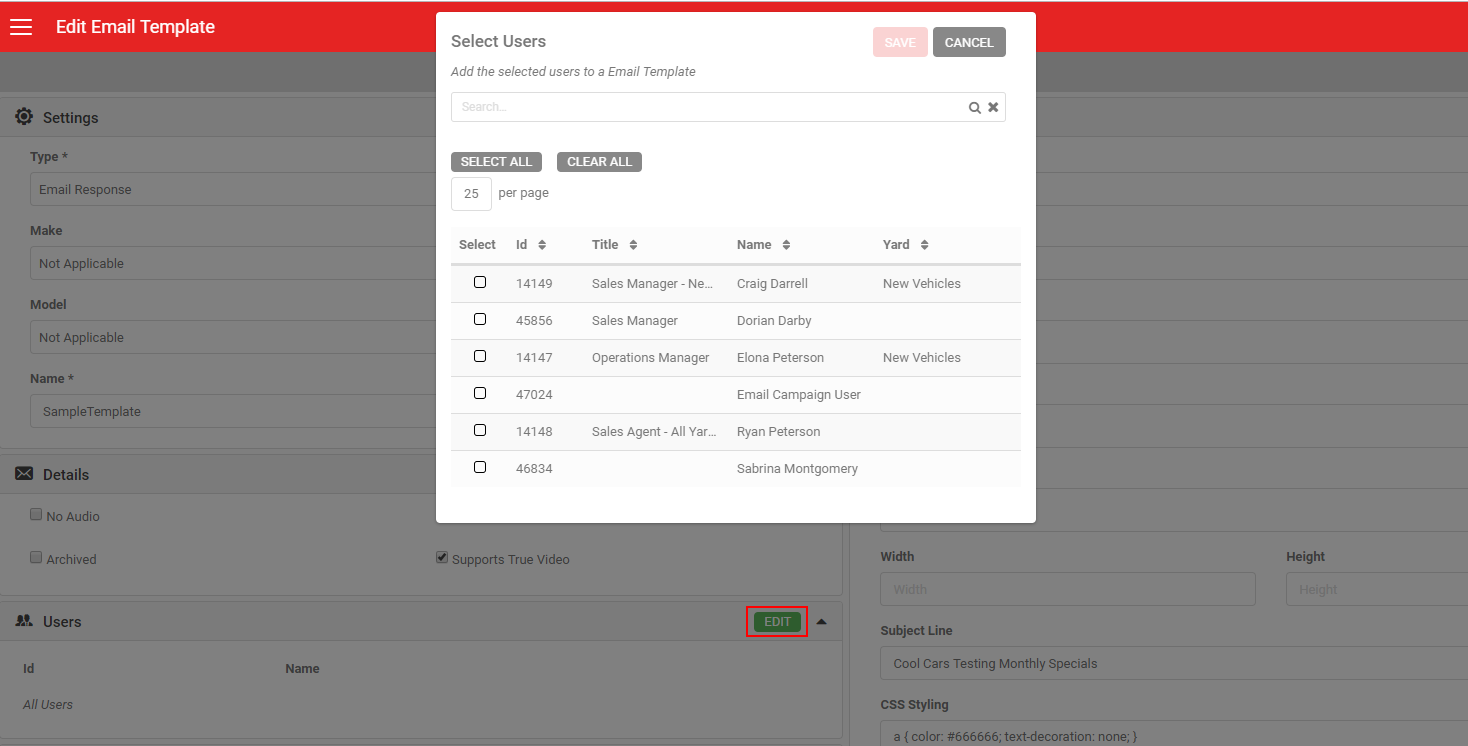
Click EDIT in the Users section to choose who can see and use this template. Only the users you select here can use the template in Email Responses, Standard Text or Auto Responses. You can select all users or individual users.
4. Yards
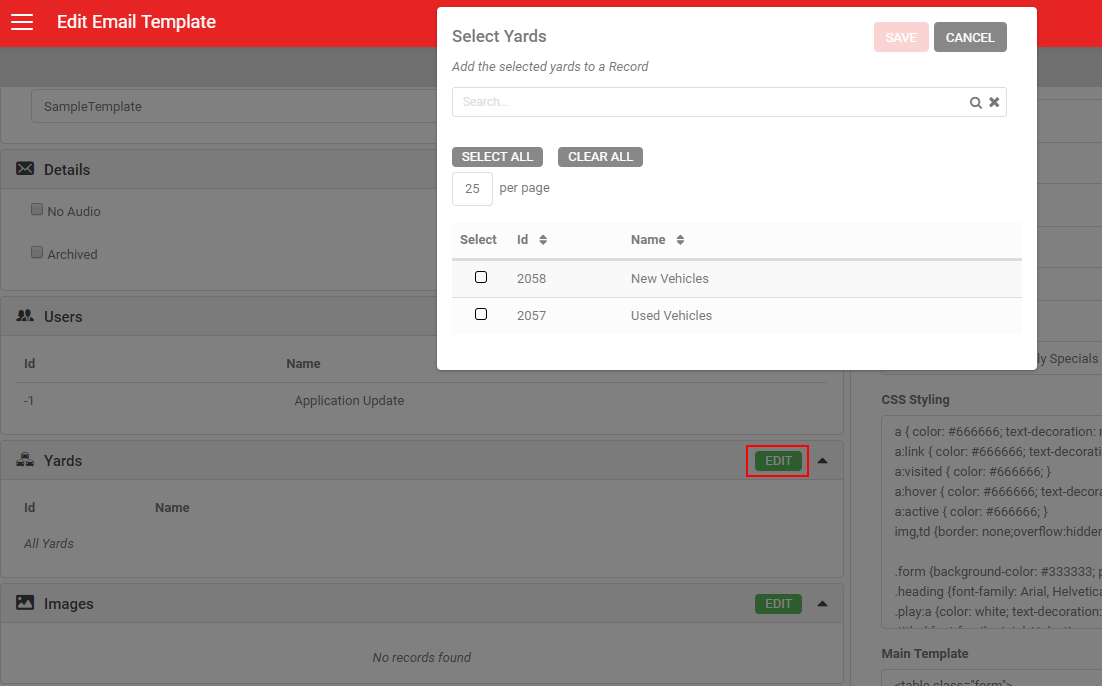
Click EDIT in the Yards section to choose which yards can use this template. If a yard is not set up against the template, the template will not be available on a lead for that yard, and will not appear as an option in Standard Text or Auto Responses for that yard. You can select all yards or individual yards.
5. Images
Click EDIT in the Images section to add images to your template. Give each image a name and upload a PNG or JPG file. Each image gets a unique ID, shown when you click EDIT. Reference that ID in the Main Template field as BODY_IMAGE_XXX to pull the image into your email. You can also open your template images from the grey action menu header.

6. Modules
Email Templates can include Modules for custom functionality. See the separate article on Modules for more detail.
7. Email
- Default Transition: if the template contains video, choose a transition: Default, None, Pan, Pan Down, Pan Left, Pan Right, Pan Up, Zoom, Zoom In or Zoom Out.
- From: controls what the customer sees in the From field of their inbox (for example, from mailer@autoplay.co.nz on behalf of Name
). - Email: the email address the template sends from.
- CC: automatically CCs this address whenever the template is used.
- BCC: automatically BCCs this address whenever the template is used.
- Width and Height: the pixel dimensions of the email template.
- Subject Line: populates automatically when the template is used to send an email.
- CSS Styling: affects the overall look of the email.
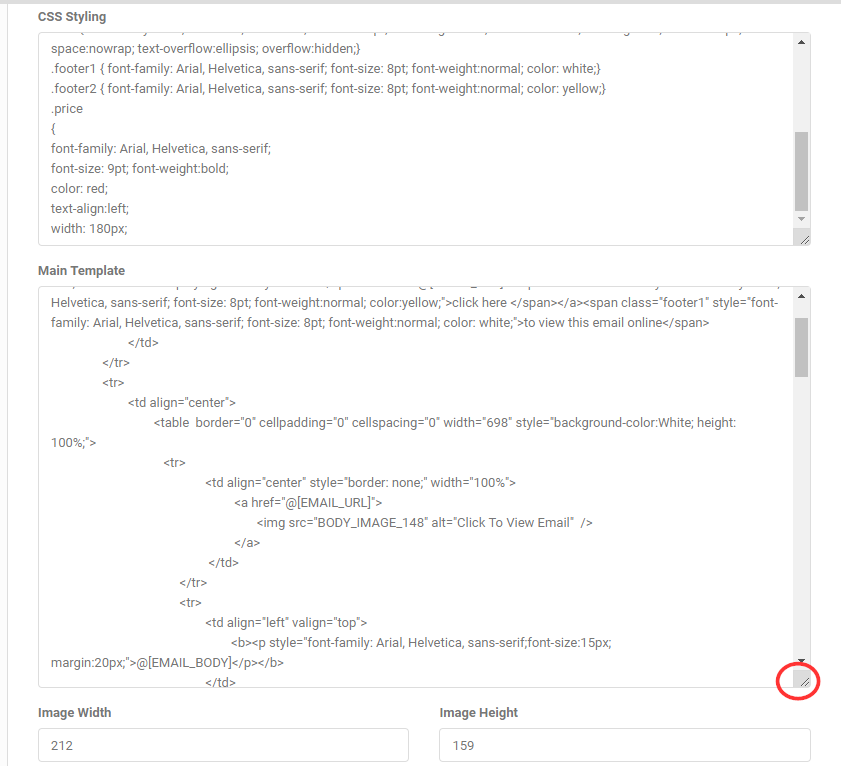
- Main Template: build the email body here using HTML. Drag the bottom right corner of the field for more room to work.
- Image Width and Image Height: control the size of listing images in pixels.
- Item Template: controls the styling of video elements.
- Listing/Row: controls how many rows of listings display in Live Leads templates. Each row shows three vehicles.
- Display As Image: tick to show Live Leads content as images instead of videos.
- Item Image Width and Item Image Height: control the size of item images in pixels.
- Record ID: the ID automatically assigned to the template.
- Created and Updated: the dates the template was created and last changed.
8. Preview, save and close
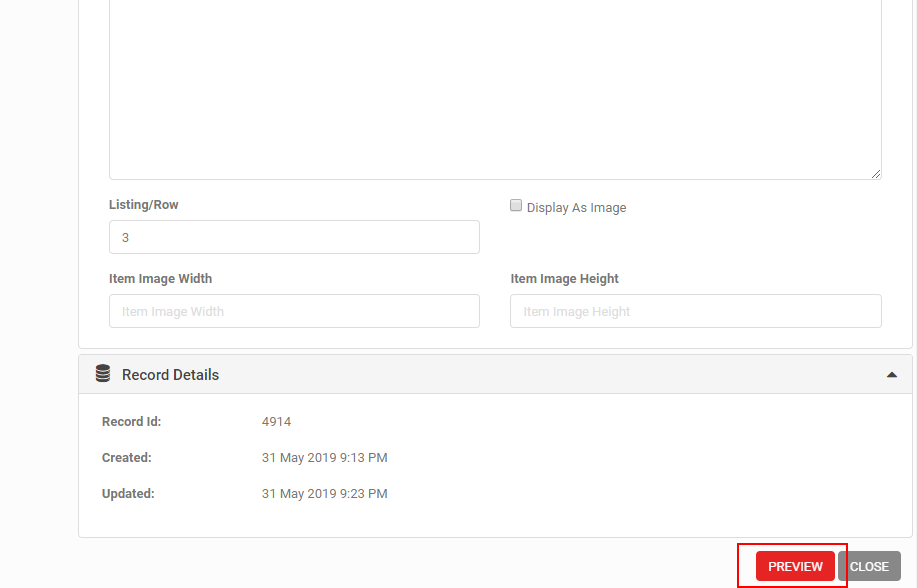
At the bottom of the screen, click SAVE if the template has unsaved changes. Click PREVIEW to see how the email will look in a browser. Click CLOSE to return to the Email Templates dashboard.
9. Duplicate a template
Once a template is saved, click MORE in the grey action menu to duplicate it. This opens a copy for you to modify, leaving the original unchanged. Rename and save the copy to keep it as a separate template.
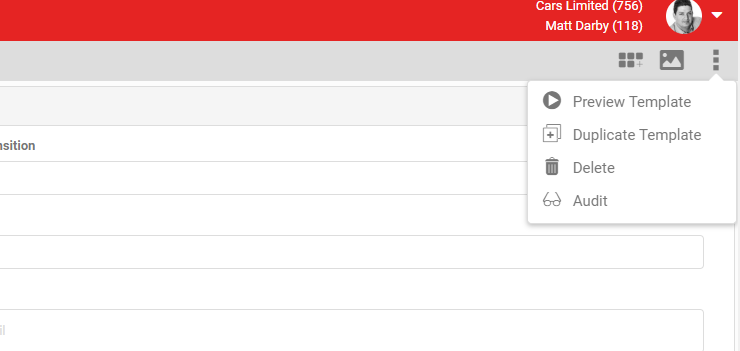
10. Delete a template
Delete a template from the MORE menu.
11. Audit
If you have the Audit role, click Audit to view a history of changes to the template.
12. Reply To
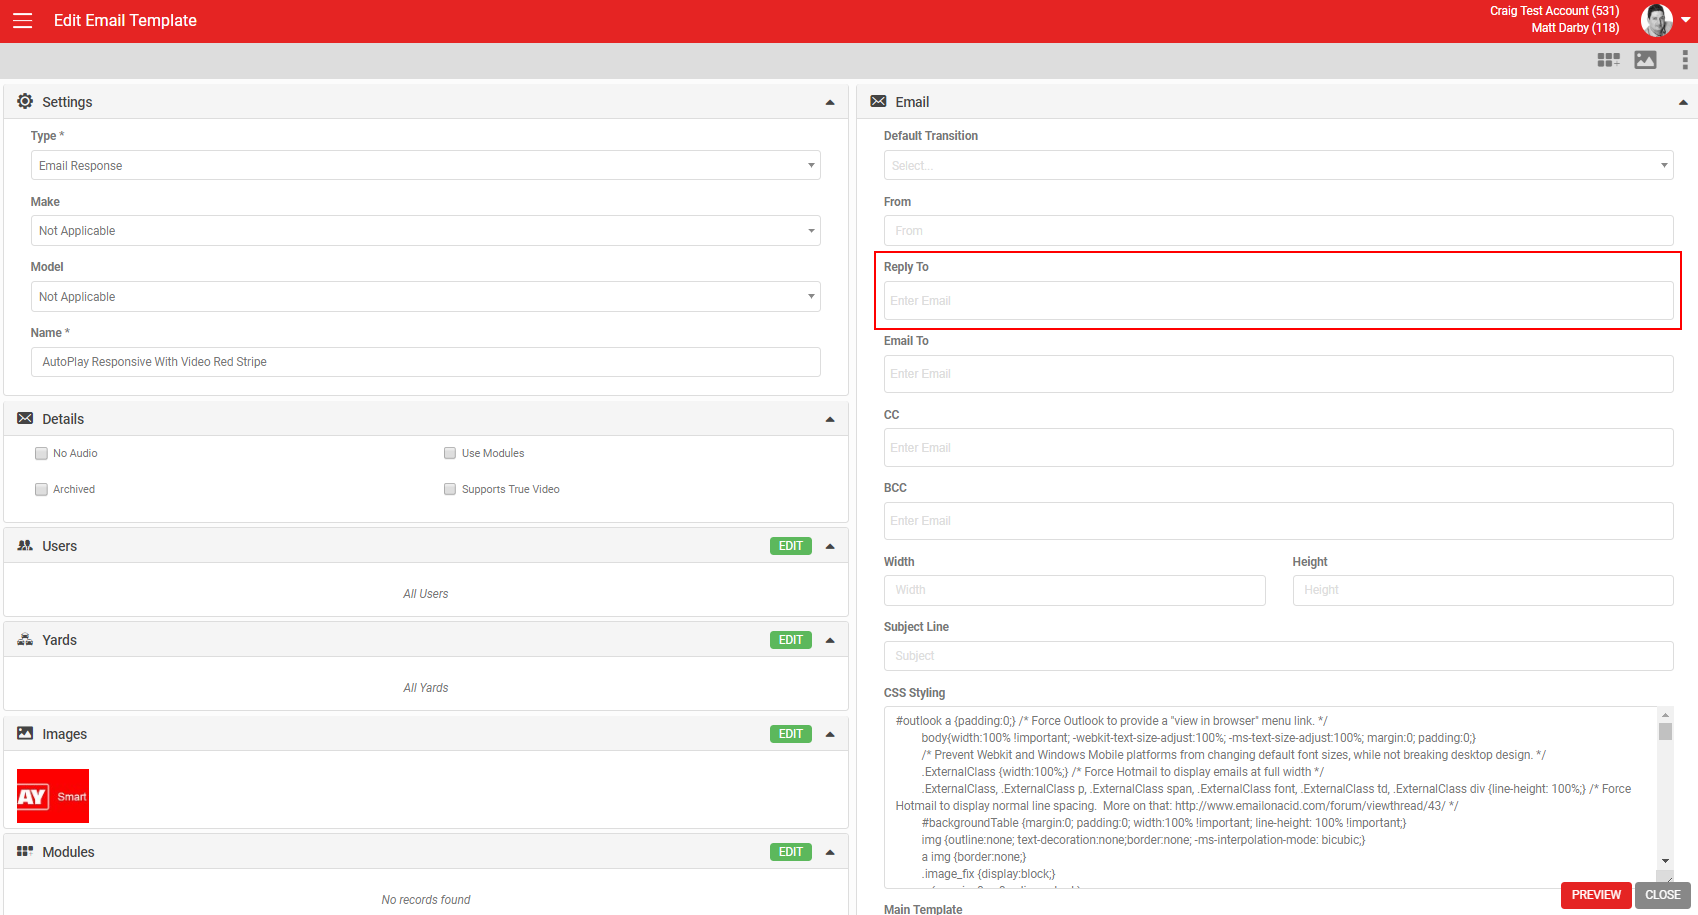
The Reply To field is a text field for the email addresses that should receive a customer's reply when they respond to an email sent from this template. This applies only to the actual email reply, not to notifications or the captured reply record.
- Because it is a text field, the address does not need to belong to an AutoPlay user.
- You can enter multiple email addresses, unlike the From field, which needs a single AutoPlay user.
- By default, replies go to the From user. If you enter an address in Reply To, replies go there instead.
- This is separate from where the reply is captured on the lead within AutoPlay, which goes to the current lead owner.
- This is also separate from notifications, which go to the current lead owner and, depending on settings, to the lead owner's managers.