This article helps you create and edit a Role Group so you can assign several Roles to a user in one action.
Overview
Role Groups let you bundle Roles together so you can assign them to a user in a single click. For example, Sales Managers can have their own group of Roles, separate from the group used for Sales People.
This guide covers creating and editing a Role Group. See the separate guide on assigning a Role Group to a user.
Create a Role Group
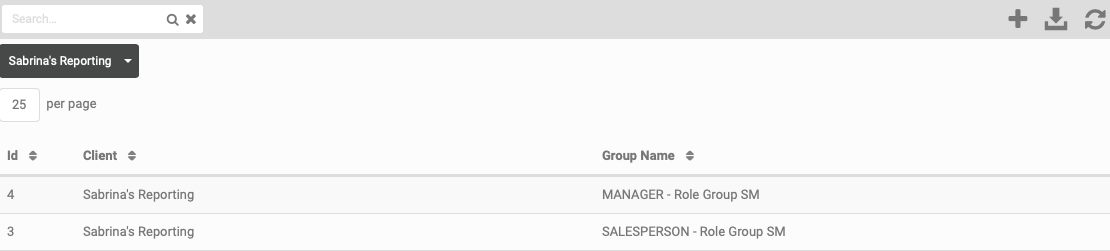
- Go to Company Settings > Role Groups. The Role Group list screen displays.
- Click the + icon to create a new Role Group.
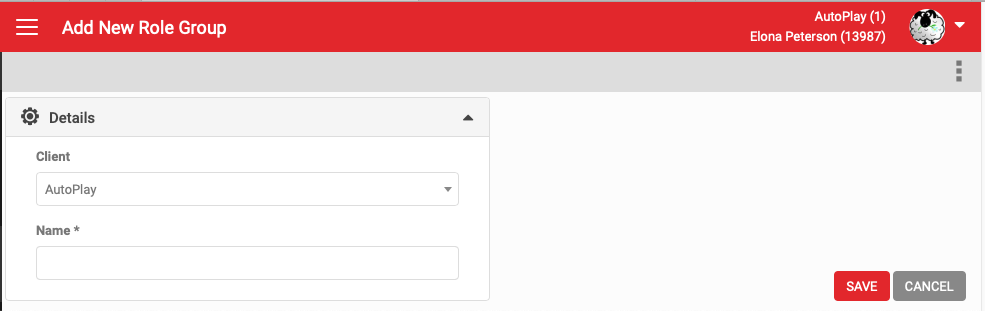
- The Add New Role Group screen displays.
- Enter a name for the Role Group and click SAVE.
Edit a Role Group
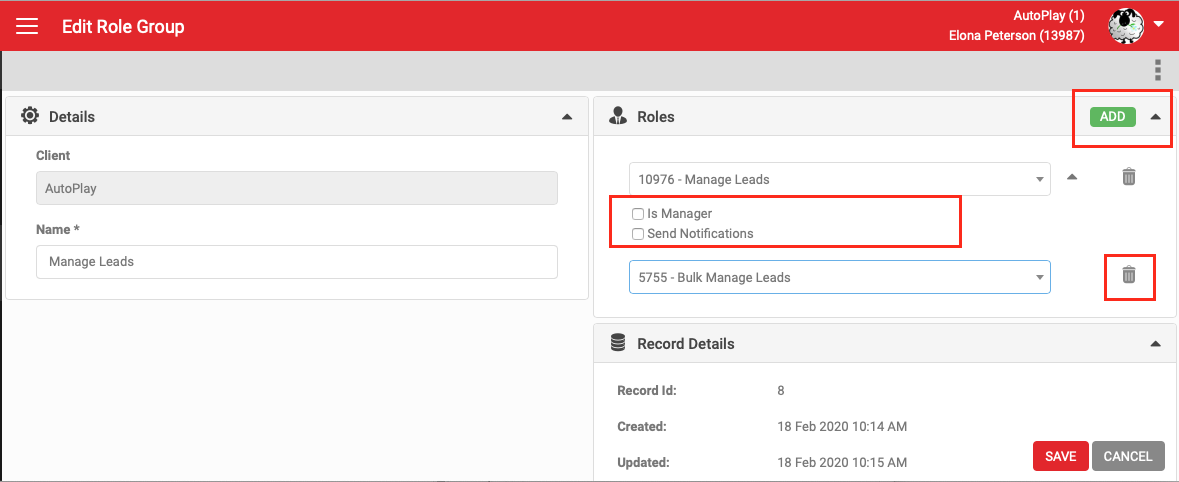
- The Edit Role Group screen displays the Roles section.
- Click Add to add a Role.
- Where a Role has Manager or Notification options, click the arrow icon to the right of the field to expand them.
- Click the rubbish bin icon to remove a Role.
- Click SAVE to apply your changes.